Running Ghost On Akamai LKE
How to deploy Ghost publishing software to Akamai's Kubernetes service

This site runs on Ghost, and one of my more popular posts over the years has been about how to install it on FreeBSD (which I will update for 14.0 soon). My web server has actually been a single Linode instance since 2018 (albeit migrated a few times), but there has just been a horrible lack of Kubernetes on this blog, so let's try running it in Linode Kubernetes Engine.
Prerequisites:
- Beginner Kubernetes knowledge. By that I mean you've read a book on the subject (Cloud Native DevOps With Kubernetes isn't a bad start), but perhaps haven't done anything with it yet. I won't be introducing every concept, but we'll go through the commands and the gotchas.
- Helm 3, essentially a package manager for K8s where you customize before deployment. If this didn't already come up in your reading, please examine the site.
- An Akamai Cloud (Linode) account
- A version of kubectl that lines up with the version of Kubernetes you're deploying in LKE.
- Your own domain name and DNS provider.
- The example shell commands should be Linux/MacOS friendly. If you're a Windows user, either adjust accordingly or embrace WSL.
What we're installing:
Costs:
This is at the time of writing, and I am not liable if something changes or you forget something is running. The official cost calculator should be consulted for up to date information. As well, there are sometimes credits on the docs site, so you might be able to squeeze this in and decide if you want to keep playing with it.
That said,
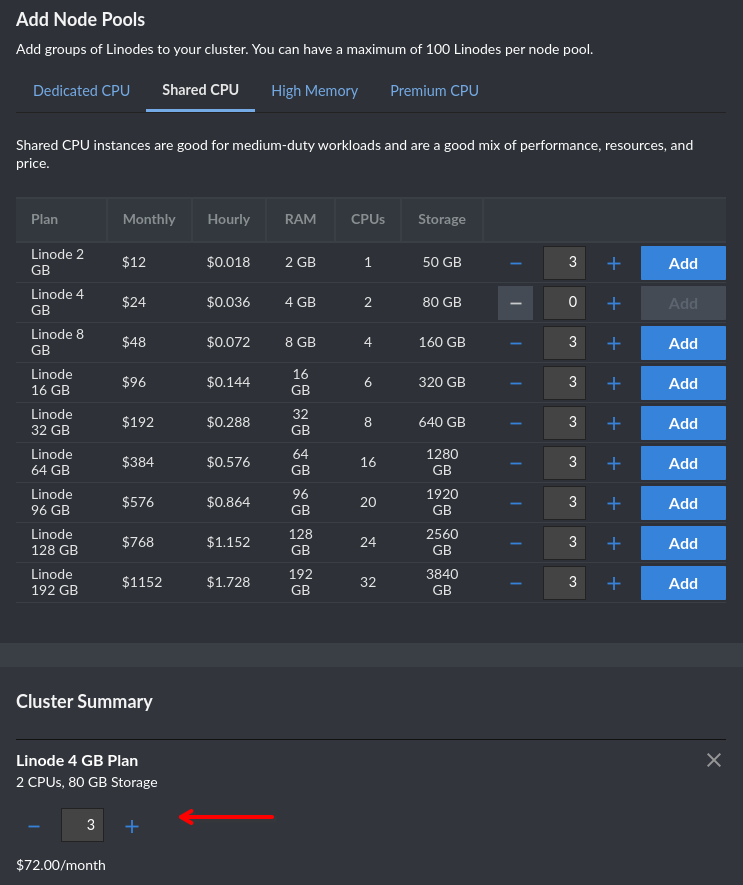
- Basic shared CPU LKE cluster without HA control plane: $72/mo
- 1 Nodebalancer: $10/mo
- 2 10GB block storage volumes: $2/mo
Setting up your cluster
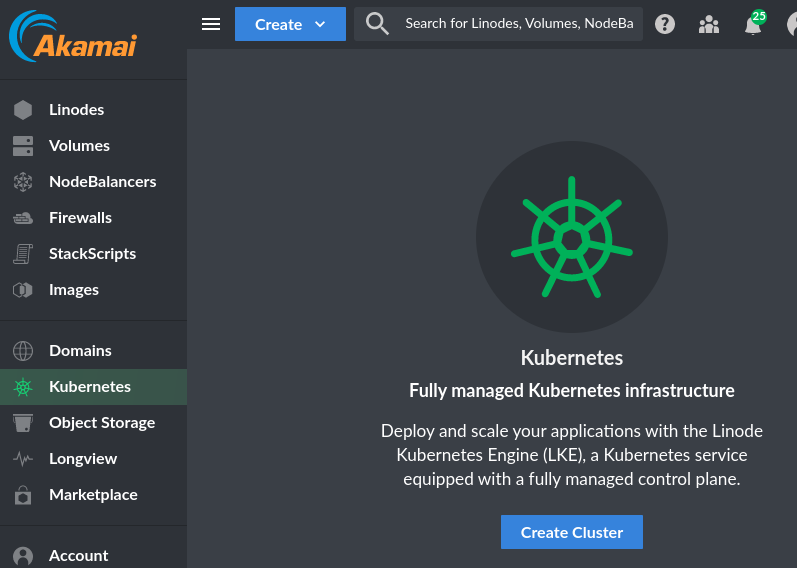
I'm going to demonstrate this using the Akamai Cloud Manager. Power user? Then read about how to do it with Terraform here and here.
Alright, let's hit that big Create Cluster button. Are you excited?
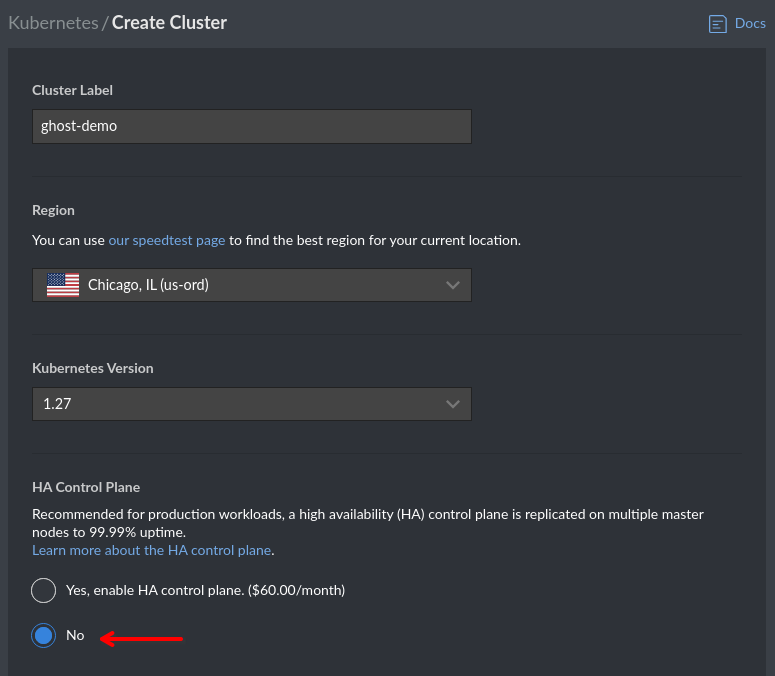
Give your cluster a name and pick a region. Let's say "no" to HA because we're hobbyists building this for fun. I'm trying to keep this little demo under $100.
Here I'm picking 3 Shared CPU nodes of modest size. If you're going to start building serious things here, you'll want dedicated nodes with more resources. As far as running a blog goes, this might actually be overkill (again, you're reading this on a site hosted on a single Linode).
This will take a few minutes as it provisions the nodes. In the mean time, on the Kubernetes pane you'll see a link to download your kubeconfig. Grab this and integrate into your settings accordingly.

Once you have your kubeconfig setup, you should be able to query the readiness of your nodes.
% kubectl get nodes
NAME           STATUS   ROLES    AGE     VERSION
lke144-50000   Ready    <none>   6m56s   v1.27.5
lke144-d0000   Ready    <none>   6m58s   v1.27.5
lke144-70000   Ready    <none>   6m58s   v1.27.5
Bad practices incoming
I am going to advise where to go on building and learning after this, but you may notice further throughout this blog that we don't do much in the way of resource allocation, monitoring, or hardening. Let's get a blog working on our cheap shared cluster, then we can talk about being real Kubernetes admins.
Setting up an Ingress controller
I think a lot of books on Kubernetes are deliberately vague on how Ingresses work so they don't cultivate favoritism for a specific one. Well, I'm going to cultivate favoritism for a specific one. We're using Traefik today.
When looking at Service resources in Kubernetes, you probably notice that the type can be LoadBalancer or ClusterIP. Whereas ClusterIP will make a service inside the cluster available to other services, a LoadBalancer will often trigger your cloud provider to spin up a resource for you, in the case of Linode, that is a NodeBalancer. A NodeBalancer has its own IP address and can serve as a TCP, HTTP, or HTTPS proxy to your Kubernetes Service. You could actually just let it do this for every public facing web service you have, except:
- It would spin up a separate one with a unique IP address at $10 a pop.
- They're not as feature-rich as an Ingress controller.
What we want is for Traefik to be a Service of type LoadBalancer, then use the Ingress provider for our other services.
Setting our Helm values for Traefik
A thing I like to do before deploying a Helm chart is to read the entire default values.yaml it ships with. If things don't make sense, I dig deeper into the repository to see what those variables are setting. I recommend reading the Helm charts for everything in this exercise.
The source for the Traefik Helm chart lives here: https://github.com/traefik/traefik-helm-chart
Create a local file called traefik-values.yaml. Here is my example code, we'll break it down below:
ingressRoute:
  dashboard:
    enabled: false

deployment:
  kind: DaemonSet

ports:
  web:
    http:
      redirections:
        entryPoint:
          to: websecure
          scheme: https
    proxyProtocol:
      trustedIPs:
        - "192.168.255.0/24"
    forwardedHeaders:
      trustedIPs:
        - "192.168.255.0/24"
  websecure:
    proxyProtocol:
      trustedIPs:
        - "192.168.255.0/24"
    forwardedHeaders:
      trustedIPs:
        - "192.168.255.0/24"

service:
  enabled: true
  single: true
  type: LoadBalancer
  annotations:
    service.beta.kubernetes.io/linode-loadbalancer-default-proxy-protocol: v2
    service.beta.kubernetes.io/linode-loadbalancer-hostname-only-ingress: "true"
  spec:
    externalTrafficPolicy: Local

logs:
  general:
    level: DEBUG
ingressRoute.dashboard: this value is for Traefik's dashboard. Although IngressRoute is a CRD we'll see a lot of shortly, this one is specifically for Traefik itself. We don't need it, but if you know what you're doing, go ahead and configure it.
deployment.kind: this defaults to Deployment and will deploy a single Traefik pod. Here, we've changed it to DaemonSet so each Kuberentes node will have one. Traefik isn't the heaviest thing and this is good for uptime.
ports: "web" and "websecure" are the default names for 80 and 443 respectively, and websecure has configurable TLS settings. You can see the other options and defaults in the stock values.yaml, but let's talk about the changes we're making:
- Redirect to https because it's 2023.
proxyProtocolandforwardedHeaders: permit the NodeBalancer to forward details about its incoming traffic. We'll talk about that CIDR further down.
service.annotations:
default-proxy-protocolthis tells it to create the NodeBalancer with support for the V2 Proxy Protocol. What for? To forward information to Traefik about traffic coming in from the other side. Here's some bedtime reading for you:hostname-only-ingress: from the documentation, "Whentrue, the LoadBalancerStatus for the service will only contain the Hostname. This is useful for bypassing kube-proxy's rerouting of in-cluster requests originally intended for the external LoadBalancer to the service's constituent pod IPs." this is optional.- Want to tweak it more? https://github.com/linode/linode-cloud-controller-manager#annotations
service.spec.externalTrafficPolicy: this defaults to Cluster, we're changing it to Local. This fixes some confusion about where Traefik is getting its information from. If set to "Cluster", it sees the source IP as the public IP of the Linode that it's running on. If set to "Local", it sees the private IP of the NodeBalancer instead.
So what is with this 192.168.255.0/24 CIDR? This document should explain everything: https://www.linode.com/docs/products/networking/nodebalancers/guides/client-ip/
Basically, our NodeBalancer's private IP address is going to be from that range. If you try to manually configure a NodeBalancer, you'll see your options are Linodes on the same account, so the /24 shouldn't be anything to be concerned about. By permitting this IP range in Traefik and telling the NodeBalancer to use proxy protocol, we can capture source IP addresses in order to protect our blog later.
logs.general.level: you can omit this whole block if you want. Setting this to DEBUG will show all connections, which is good for troubleshooting during this exercise. It defaults to ERROR.
Deploying Traefik
Alright, let's get something running in our new cluster! Create the namespace, add the repo, then deploy using the values file you created.
% kubectl create namespace traefik
% helm repo add traefik https://traefik.github.io/charts
% helm repo update
% helm install -n traefik --values=traefik-values.yaml traefik traefik/traefik
After that finishes doing its thing, it will dynamically provision a NodeBalancer for you. Check the status with kubectl:
% kubectl -n traefik get service/traefik
NAME      TYPE           CLUSTER-IP      EXTERNAL-IP                               PORT(S)                      AGE
traefik   LoadBalancer   10.128.134.85   [someiphere].ip.linodeusercontent.com   80:31717/TCP,443:32001/TCP   53s
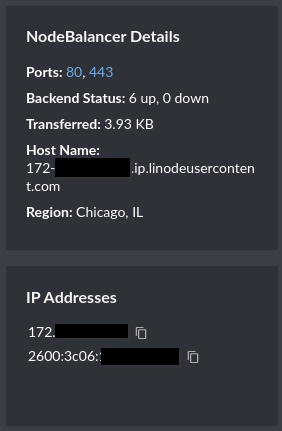
Configure your DNS
You own a domain name, right? Well, click the NodeBalancer label, go to your DNS provider, and create A and AAAA records for the NodeBalancer's IP addresses. For the rest of this document, you'll see ghost-demo.blakecarpenter.dev as the hostname, replace it with yours in all fields.
This will obviously take a while to propagate, so take a break before the next steps.
Setting up cert-manager
If you're doing this exercise, I'm going to assume the odds are very high you've used LetsEncrypt before. If not, go read everything about it.
We're going to setup cert-manager with both LetsEncrypt Staging and Production as issuers. Make this a habit and never switch to the production issuer until everything works. Otherwise, you'll get rate limited and you'll be stuck without a cert.
Anyway, cert-manager is probably the most popular tool for provisioning certificates for your ingresses. Although Traefik has a LetsEncrypt plugin of its own, it stores them in a persistent volume whereas cert-manager creates secrets. I'm going to say this is better.
Note regarding CRDs
In my example, I'm going to allow Helm to manage the CRDs for cert-manager. Please see their official install guide for all the reasons you shouldn't do this. I'm still gonna. Feel free to follow their method instead, as we are basically deploying this with all the defaults.
Again, I recommend you read the default values file.
We're actually not doing much here, this is all my cert-manager-values.yaml has in it:
installCRDs: true
namespace: cert-manager
So let's deploy it:
% kubectl create namespace cert-manager
% helm repo add jetstack https://charts.jetstack.io
% helm repo update
% helm install cert-manager jetstack/cert-manager --values=cert-manager-values.yaml
Creating the ClusterIssuer for LetsEncrypt
cert-manager has two similar resources, Issuer which defines a namespaced resource for generating certificates, or ClusterIssuer which will provide for a Certificate resource in any namespace. It's our cluster, so that's fine.
Create a file called letsencrypt-issuer.yaml and fill it out accordingly with your email address.
---
apiVersion: cert-manager.io/v1
kind: ClusterIssuer
metadata:
  name: letsencrypt-staging
  namespace: cert-manager
spec:
  acme:
    server: https://acme-staging-v02.api.letsencrypt.org/directory
    email: your@email.address.fake
    privateKeySecretRef:
      name: letsencrypt-staging
    solvers:
      - http01:
          ingress:
            class: traefik
---
apiVersion: cert-manager.io/v1
kind: ClusterIssuer
metadata:
  name: letsencrypt-prod
  namespace: cert-manager
spec:
  acme:
    server: https://acme-v02.api.letsencrypt.org/directory
    email: your@email.address.fake
    privateKeySecretRef:
      name: letsencrypt-prod
    solvers:
      - http01:
          ingress:
            class: traefik
Note ingress.class: traefik, this means Traefik will provide the http challenge response for LetsEncrypt.
Go ahead and apply this, we'll be working with the staging resource until the very end.
% kubectl apply -f letsencrypt-issuer.yamlGenerating a certificate for your blog
This will be going in the same namespace as Ghost, so create that now.
% kubectl create namespace ghostNow create a file named ghost-certificate.yaml and fill it out with the DNS name you created earlier. All should go well if it has finished propagating.
---
apiVersion: cert-manager.io/v1
kind: Certificate
metadata:
  name: ghost-demo
  namespace: ghost
spec:
  secretName: ghost-cert
  issuerRef:
    name: letsencrypt-staging
    kind: ClusterIssuer
  commonName: ghost-demo.blakecarpenter.dev
  dnsNames:
    - ghost-demo.blakecarpenter.dev
You can watch that until it's ready. If it doesn't seem to ever get there, check pod and event logs and troubleshoot DNS.
% kubectl -n ghost get certificate.cert-manager.io/ghost-demo -w
NAME         READY   SECRET       AGE
ghost-demo True ghost-cert 33sDeploy a MySQL Database
Ghost as of lately is only supporting MySQL 8. Although it might work if you deploy it with MariaDB, some random upgrade might destroy it, so please don't.
The MySQL and Ghost charts we're using are both provided by Bitnami. It's an interesting project by VMWare that provides a lot of containers and charts for projects that may not have official ones, or that only provide them for enterprise use.
I am again advising to read the default values file.
This is the first time in this post we're going to talk about Secrets. These charts will either gladly let you put sensitive things like passwords in them in plaintext, or you can have them reference secrets that already exist in the cluster. Honestly, you should be looking into a real secrets management solution like Vault, but that is a whole other can of worms and outside the scope of this already lengthy article. For now, we will upload the secrets ourselves, just don't ever put this stuff in git.
We are going to need to create Opaque secrets. This is a pretty generic variety just containing key:value pairs. The values however must be base64 encoded in advance. We can do this pretty easily.
% echo -n ThisIsAnExampleRootPasswordForMySQL | base64
VGhpc0lzQW5FeGFtcGxlUm9vdFBhc3N3b3JkRm9yTXlTUUw=
% echo -n ThisIsAnExampleUserPasswordForMySQL | base64
VGhpc0lzQW5FeGFtcGxlVXNlclBhc3N3b3JkRm9yTXlTUUw=
Note the -n, if you don't use that, base64 will pickup the new line as a character and encode that as well. Now that we have our encoded passwords, let's create mysql-secret.yaml:
---
apiVersion: v1
kind: Secret
metadata:
  name: mysql-secret
  namespace: mysql
type: Opaque
data:
  mysql-root-password: VGhpc0lzQW5FeGFtcGxlUm9vdFBhc3N3b3JkRm9yTXlTUUw=
  mysql-password: VGhpc0lzQW5FeGFtcGxlVXNlclBhc3N3b3JkRm9yTXlTUUw=
Then create the namespace and the secret.
% kubectl create namespace mysql
% kubectl apply -f mysql-secret.yaml
Now that we can reference that secret in our values, here's what I used, breakdown to follow:
architecture: standalone

auth:
  createDatabase: true
  database: ghost
  username: ghost
  existingSecret: mysql-secret
  defaultAuthenticationPlugin: "caching_sha2_password"

primary:
  persistence:
    enabled: true
    storageClass: linode-block-storage-retain
    accessModes:
      - ReadWriteOnce
size: 10Giarchitecture: setting this to standalone creates a single database. Change this if you're an expert MySQL admin who is prepared to do a failover inside Kubernetes using a third-party Helm chart with no documentation on how to accomplish this.
auth: This will initialize the database and create a user account. Our mysql-password key in our Secret will be the ghost user's password. existingSecret must be set to the metadata name of our secret, and defaultAuthenicationPlugin needs to be set to this for future proofing as MySQL is deprecating what this chart uses as the default.
primary.persistence: here's more cloud provider magic. This will create a Linode block storage volume and attach it to the Linode that the pod is running on. Let's break this down:
storageClass: linode-block-storage-retainmeans that this volume will still exist if you tear down the cluster.accessModes: a stateful database like this should use ReadWriteOnce as we shouldn't have multiple pods writing to it concurrently.size: this is set to 10Gi, which is actually the smallest block storage volume you can provision with Linode. Setting it lower will still create a 10Gi volume. A 10Gi block storage volume costs $1/mo.
Okay, make whatever changes you wanted and let's deploy.
% helm install -n mysql --values=mysql-values.yaml mysql oci://registry-1.docker.io/bitnamicharts/mysqlThis will take a while before it's ready. Along the way, if you look at the Volumes tab of Cloud Manager, you should see the volume it created.

Make sure it's ready before we install Ghost. If you want, feel free to spin up a temporary pod and try connecting to it.
% kubectl get pods -n mysql -w
NAME      READY   STATUS    RESTARTS   AGE
mysql-0   1/1     Running   0          12m
Deploy Ghost
We also need to create secrets for Ghost. Mainly, a password for your primary user, and the MySQL user password we already created.
Ghost's password policy is pretty strict, so instead of a friendly example like before. we're going to use Z%n-]z;s4!>+N#f{j2ER7W.
% echo -n 'Z%n-]z;s4!>+N#f{j2ER7W' | base64
WiVuLV16O3M0IT4rTiNme2oyRVI3Vw==
Create ghost-secret.yaml, take note of your gibberish password, and fill out accordingly. Also include the MySQL password you created earlier.
---
apiVersion: v1
kind: Secret
metadata:
  name: ghost-secret
  namespace: ghost
type: Opaque
data:
  ghost-password: WiVuLV16O3M0IT4rTiNme2oyRVI3Vw==
  mysql-password: VGhpc0lzQW5FeGFtcGxlVXNlclBhc3N3b3JkRm9yTXlTUUw=
% kubectl apply -f ghost-secret.yamlHere's my ghost-values.yaml, we'll go over it in depth below. Update for your site.
image:
  debug: true

updateStrategy:
  type: Recreate

ghostUsername: blake
existingSecret: ghost-secret
ghostEmail: your@email.address.fake
ghostBlogTitle: Blake's Demo Blog
ghostHost: ghost-demo.blakecarpenter.dev
ghostPath: /

ghostEnableHttps: true

allowEmptyPassword: false

service:
  type: ClusterIP

persistence:
  enabled: true
  storageClass: linode-block-storage-retain
  accessModes:
    - ReadWriteOnce
  size: 10Gi

mysql:
  enabled: false

externalDatabase:
  host: mysql.mysql.svc.cluster.local
  port: 3306
  user: ghost
  database: ghost
  existingSecret: ghost-secret
image.debug: the Bitnami container has Ghost's logs go to a file on the persistent volume rather than standard out, so if it can't launch for some reason, kubectl logs isn't very helpful. This increases the verbosity of the startup sequence.
updateStrategy.type: we're changing this to Recreate because of the ReadWriteOnly limitation. If this is set to RollingUpdate, it will attempt to create a new pod before deleting the old one, which will never be ready as it is trying to mount a volume already in use.
ghostEnableHttps: we need to set this to true in order for Ghost's public URL to be prefixed with https, else photos might not render as it creates image links with the http scheme which Traefik was told to redirect. The incredibly confusing thing here is that this makes changes all over the Helm chart, including making the Service serve plain http over 443. You have to just roll with it, we'll just specify https for the port in our IngressRoute later and it will work.
service.type: note we're using ClusterIP instead of LoadBalancer as Traefik will be proxying Ghost.
persistence: same idea as MySQL earlier. If you plan on uploading a lot of large files and videos, feel free to make the volume larger. Just note how the cost increases.
mysql.enabled: this is false as we installed our own MySQL chart separately.
externalDatabase: for host we're using the internal cluster DNS, which in this case is [service].[namespace].svc.cluster.local. We also added the MySQL password to our secret in this namespace, so we're using the same secret object we used for the user password in a different key.
Things we're deliberately not configuring
replicaCount: don't set this higher than 1. First of all, Ghost explicitly says you cannot cluster this. Next, since we're using ReadWriteOnce for the storage, the other replicas would fail trying to mount it. Finally, assuming ReadWriteMany were an option, they would all be trying to write to the same log files making a total mess.
ingress: we're going to manually define IngressRoutes for Traefik, so we don't want the Helm chart to create an Ingress.
Moving on with the deploy...
If all your values are in place, we should be ready to deploy the service. We already made the namespace earlier. Note that the site won't be reachable until we deploy the IngressRoute.
% helm install -n ghost --values=ghost-values.yaml ghost oci://registry-1.docker.io/bitnamicharts/ghostThis will take longer to come online than the other services did. Ideally things should look like this:
% kubectl -n ghost get pods
NAME                     READY   STATUS    RESTARTS   AGE
ghost-84b58d79cc-mhv54   1/1     Running   0          4m12s

% kubectl -n ghost logs ghost-84b58d79cc-mhv54
ghost 20:04:35.87 INFO  ==>
ghost 20:04:35.87 INFO  ==> Welcome to the Bitnami ghost container
ghost 20:04:35.88 INFO  ==> Subscribe to project updates by watching https://github.com/bitnami/containers
ghost 20:04:35.88 INFO  ==> Submit issues and feature requests at https://github.com/bitnami/containers/issues
ghost 20:04:35.88 INFO  ==>
ghost 20:04:35.88 INFO  ==> Configuring libnss_wrapper
ghost 20:04:35.90 INFO  ==> Validating settings in MYSQL_CLIENT_* env vars
ghost 20:04:40.98 INFO  ==> Ensuring Ghost directories exist
ghost 20:04:40.98 INFO  ==> Trying to connect to the database server
ghost 20:04:41.00 INFO  ==> Configuring database
ghost 20:04:41.04 INFO  ==> Setting up Ghost
ghost 20:04:42.09 INFO  ==> Configuring Ghost URL to http://ghost-demo.blakecarpenter.dev/
ghost 20:04:42.13 INFO  ==> Passing admin user creation wizard
ghost 20:04:42.14 INFO  ==> Starting Ghost in background
ghost 20:05:20.68 INFO  ==> Stopping Ghost
ghost 20:05:21.48 INFO  ==> Persisting Ghost installation
ghost 20:05:21.57 INFO  ==> ** Ghost setup finished! **

ghost 20:05:21.59 INFO  ==> ** Starting Ghost **

Love open source? We’re hiring JavaScript Engineers to work on Ghost full-time.
https://careers.ghost.org

- Inspecting operating system
Configuring external access
The admin access for Ghost runs through /ghost/api/admin, which I don't like being open to the internet. Old WordPress habits die hard; I only want this accessible from my home IP address.
Traefik makes this easier than most ingress controllers with its Middleware and IngressRoute CRDs. I highly encourage you to read the following documents to better understand what's going no here:
https://doc.traefik.io/traefik/middlewares/overview/
https://doc.traefik.io/traefik/providers/kubernetes-crd/
Create another file, this one I called traefik-ghost-ingress.yaml. The first thing we want to add is a Middleware resource that permits only our home ipv4/ipv6 addresses.
---
apiVersion: traefik.io/v1alpha1
kind: Middleware
metadata:
  name: ghost-admin
  namespace: ghost
spec:
  ipWhiteList: # ipAllowList in traefik v3
    sourceRange:
      - "youripv4addresshere/32"
- "youripv6rangehere/whatever(probably64)"With the middleware ready, we can now create the IngressRoute. We're going to create a rule for the admin path using this middleware, and then pass everything else right through. We'll also define here the secret name of the certificate that cert-manager created.
---
apiVersion: traefik.io/v1alpha1
kind: IngressRoute
metadata:
  name: ghost
  namespace: ghost
spec:
  entryPoints:
    - websecure
  routes:
    - kind: Rule
      match: Host(`ghost-demo.blakecarpenter.dev`)
      priority: 10
      services:
        - kind: Service
          name: ghost
          namespace: ghost
          port: https
          passHostHeader: true
          scheme: http
    - kind: Rule
      match: Host(`ghost-demo.blakecarpenter.dev`) && PathPrefix(`/ghost/api/admin`)
      middlewares:
        - name: ghost-admin
          namespace: ghost
      priority: 20
      services:
        - kind: Service
          name: ghost
          namespace: ghost
          port: https
          passHostHeader: true
          scheme: http
  tls:
    secretName: ghost-cert
    domains:
      - main: ghost-demo.blakecarpenter.dev
Apply this, and if everything's right, we should now be able to hit Ghost from a browser.
% kubectl apply -f traefik-ghost-ingress.yamlAccessing your site for the first time
Cert errors oh no! Oh, that's right, we deployed a LetsEncrypt Staging cert. Did you set your browser to trust it? We can test right to the end if so. If you don't want to add the staging CAs, let's use curl to verify things.
% curl -kv https://ghost-demo.blakecarpenter.dev/
* processing: https://ghost-demo.blakecarpenter.dev/
*   Trying []:443...
* Connected to ghost-demo.blakecarpenter.dev () port 443
* ALPN: offers h2,http/1.1
* TLSv1.3 (OUT), TLS handshake, Client hello (1):
* TLSv1.3 (IN), TLS handshake, Server hello (2):
* TLSv1.3 (IN), TLS handshake, Encrypted Extensions (8):
* TLSv1.3 (IN), TLS handshake, Certificate (11):
* TLSv1.3 (IN), TLS handshake, CERT verify (15):
* TLSv1.3 (IN), TLS handshake, Finished (20):
* TLSv1.3 (OUT), TLS change cipher, Change cipher spec (1):
* TLSv1.3 (OUT), TLS handshake, Finished (20):
* SSL connection using TLSv1.3 / TLS_AES_128_GCM_SHA256
* ALPN: server accepted h2
* Server certificate:
*  subject: CN=ghost-demo.blakecarpenter.dev
*  start date: Dec  1 17:31:29 2023 GMT
*  expire date: Feb 29 17:31:28 2024 GMT
*  issuer: C=US; O=(STAGING) Let's Encrypt; CN=(STAGING) Artificial Apricot R3
*  SSL certificate verify result: unable to get local issuer certificate (20), continuing anyway.
* TLSv1.3 (IN), TLS handshake, Newsession Ticket (4):
* using HTTP/2

<!DOCTYPE html>
<html lang="en">
<head>
By using -kv I'm telling it I don't care about cert errors, but also tell me about them in detail. I can see it is successfully getting the staging certificate, and the truncated output shows the Ghost home page. If you feel ready to switch to a real cert, edit ghost-certificate.yaml and change spec.issuerRef.name to letsencrypt-prod and reapply.
---
apiVersion: cert-manager.io/v1
kind: Certificate
metadata:
  name: ghost-demo
  namespace: ghost
spec:
  secretName: ghost-cert
  issuerRef:
    name: letsencrypt-prod # We updated this value
    kind: ClusterIssuer
  commonName: ghost-demo.blakecarpenter.dev
  dnsNames:
    - ghost-demo.blakecarpenter.dev
% kubectl apply -f ghost-certificate.yaml
certificate.cert-manager.io/ghost-demo configuredThis will take a few minutes. Check back in and then see if you can curl it without the -k flag.
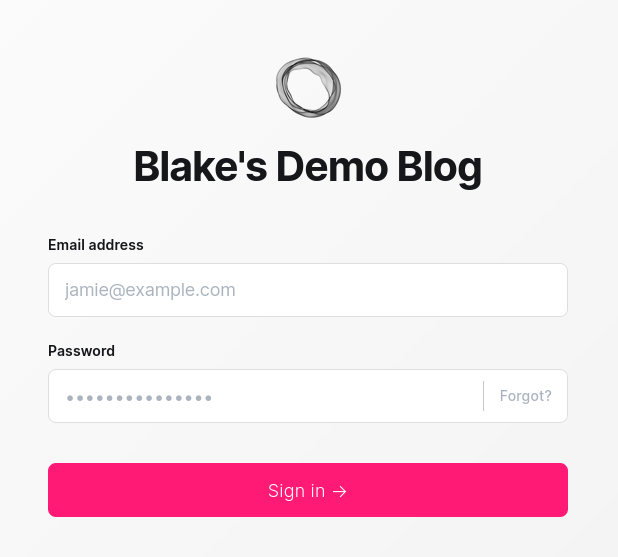
Now, when I go to https://ghost-demo.blakecarpenter.dev/ghost/ I see this in my browser:
But wait! Before you continue, disconnect from WiFi on your phone and try the same URL. /ghost/ should only work on your home network.
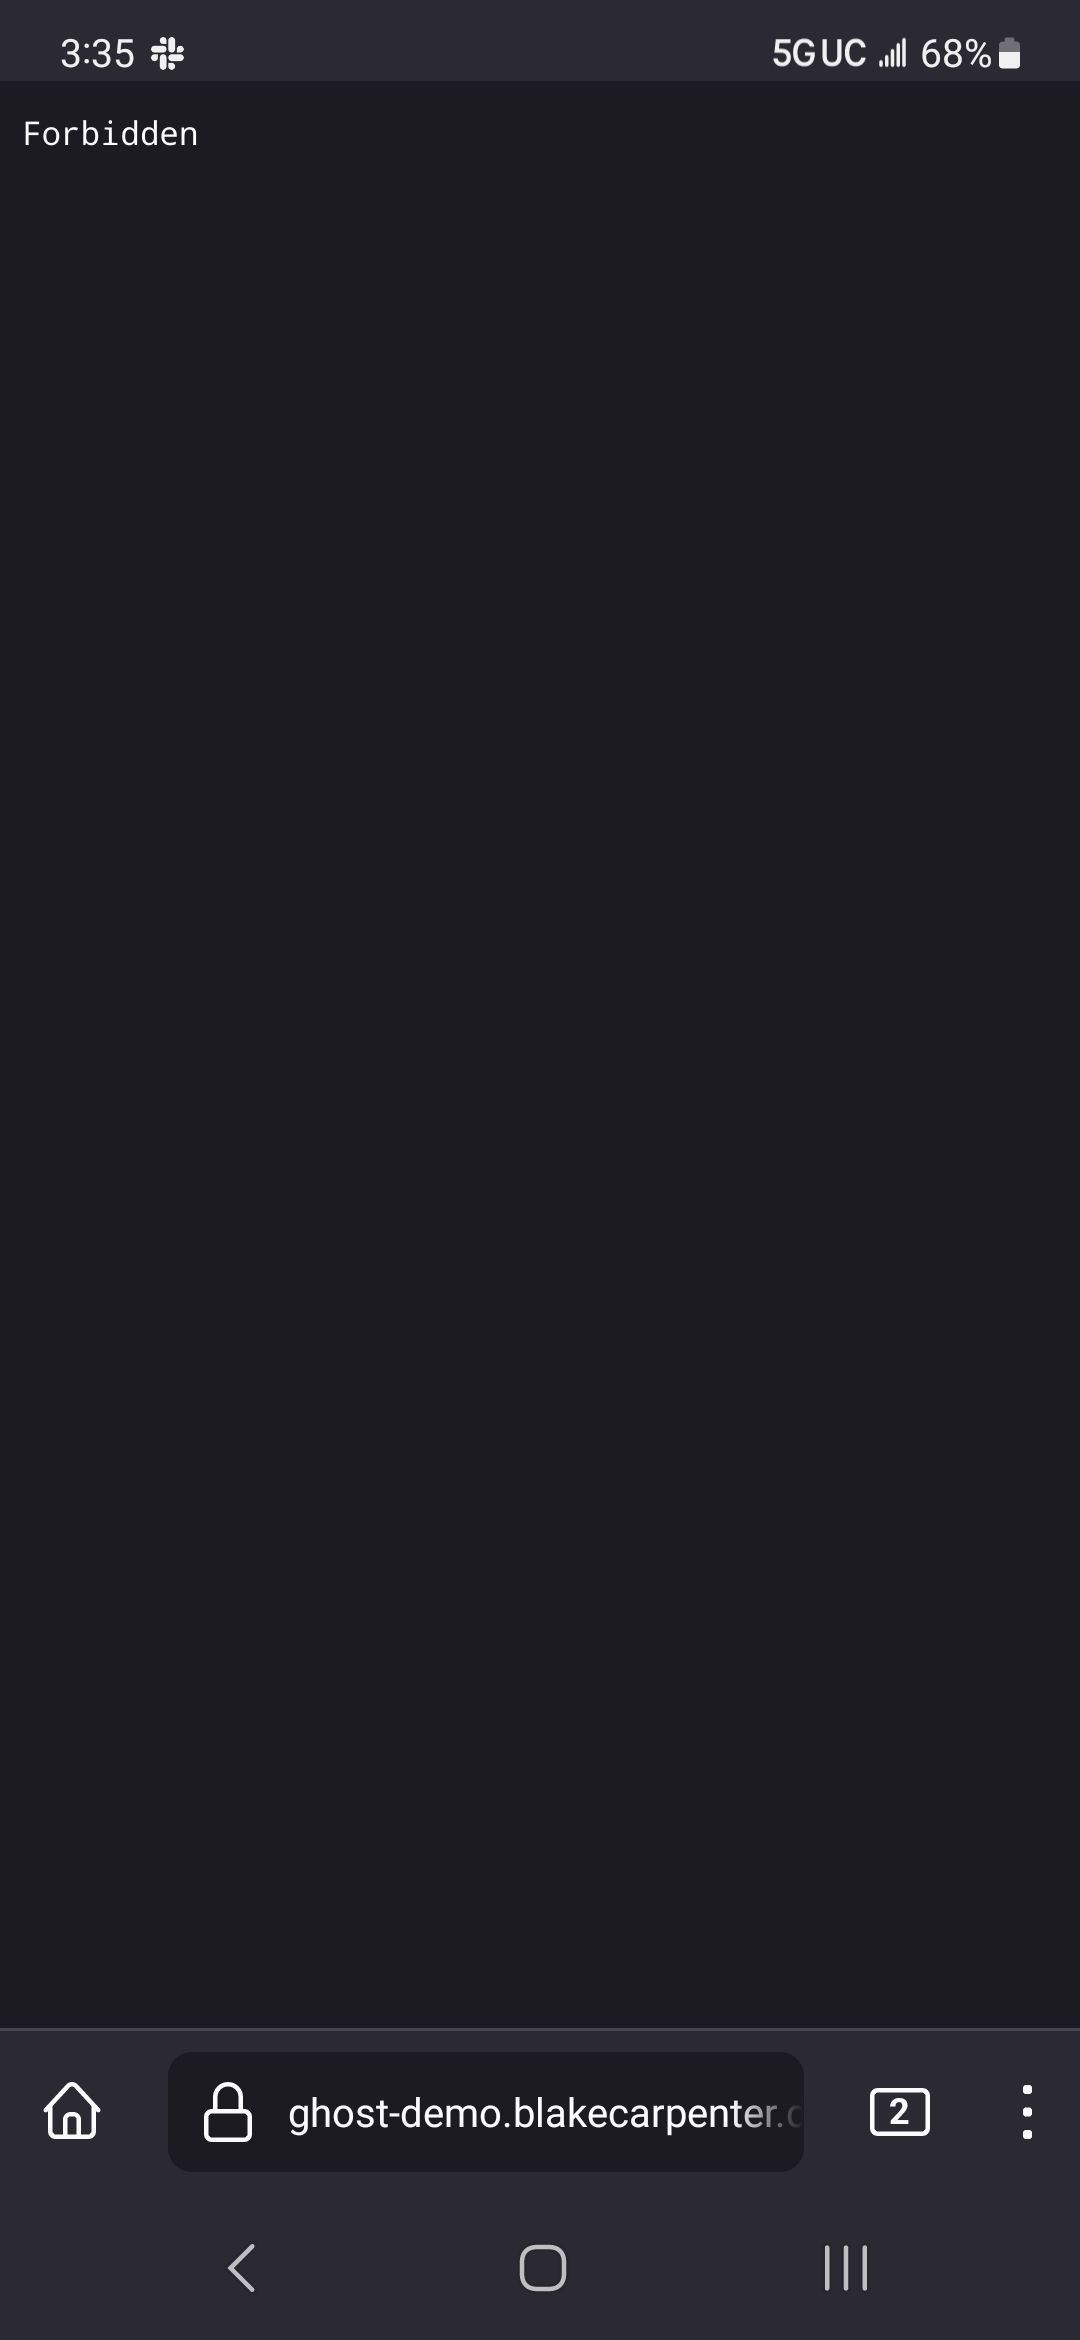
That is the most boring 403 screen ever, but it works!
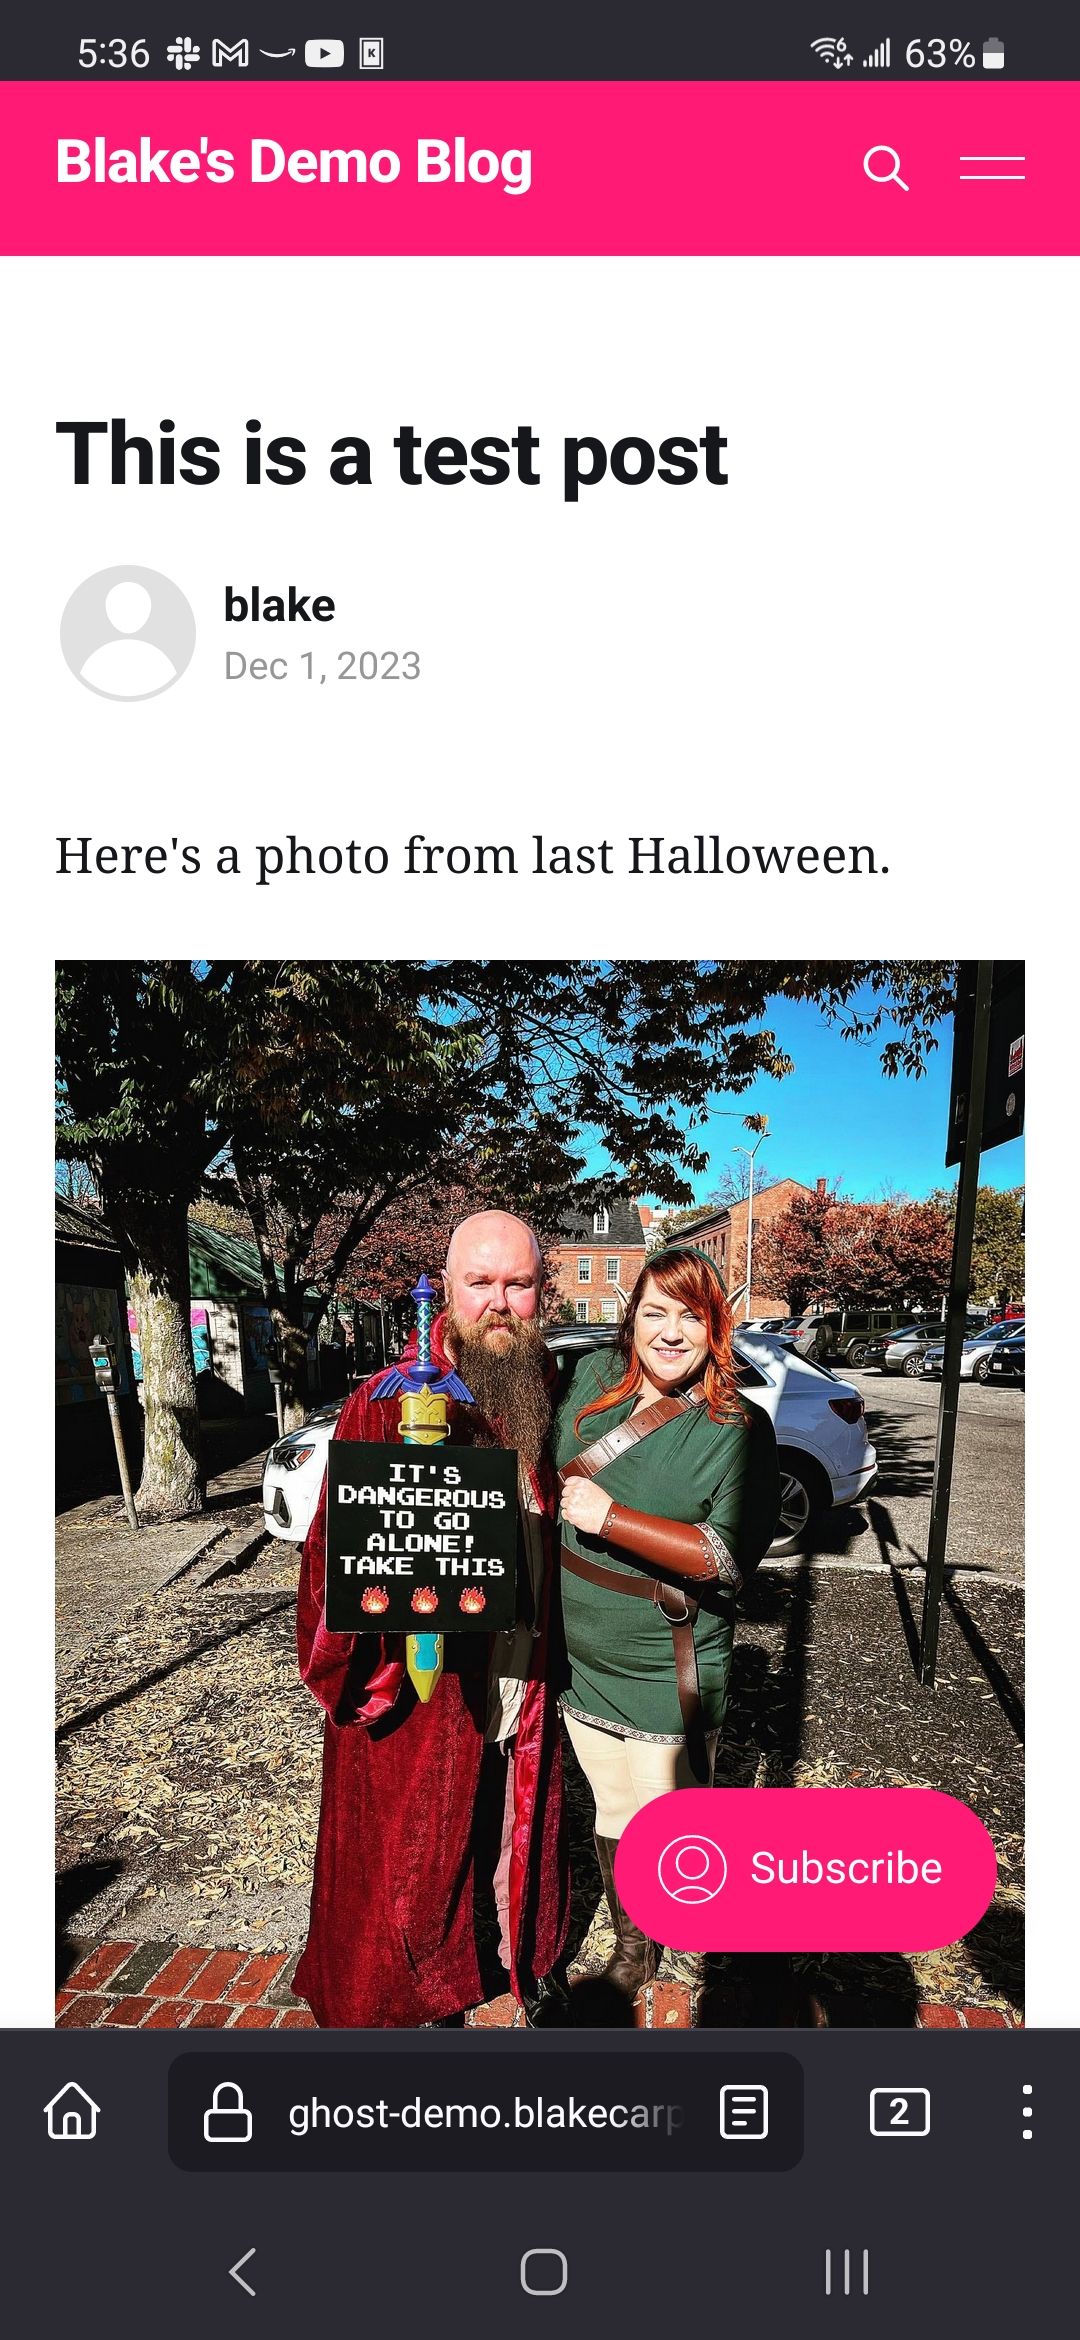
Well, let's make sure it's stable. Log in, change the theme, make a blog post, and upload an image to that blog post. Then, open it on your other device and make sure you see all of it.
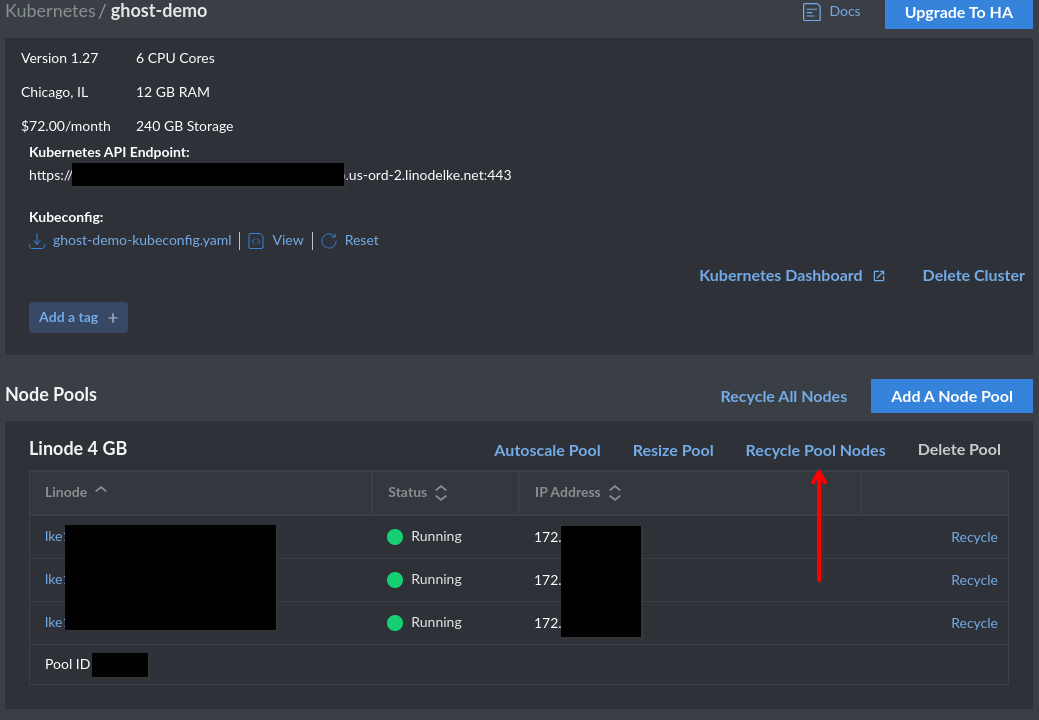
Give it a kick
Want to be absolutely sure things are persisting? You can click Recycle Pool Nodes in the admin portal which will tear down the nodes one at a time and rebuild. Give that a few minutes to do its thing, then make sure you can still login and that your blog post is still there.
Tearing it down
Curiosity satisfied? Done with this experiment?
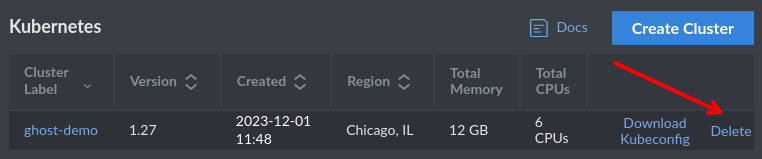
From the Kubernetes pane, delete the cluster, this will subsequently delete the Linodes that it is running on.
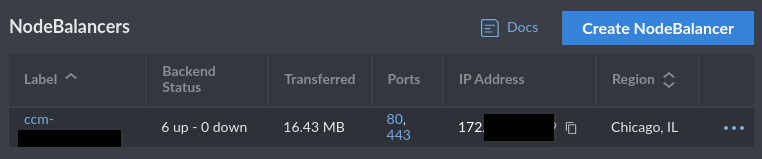
Check for any NodeBalancers left behind.
And check for any storage volumes left behind.

Keeping it up
Into it? Want to keep it? Here are some further exercises for you.
- Create an object storage bucket, then write a Kubernetes CronJob to back up your database and Ghost content folder.
- Get an observability solution set up. You have options.
- kube-prometheus-stack - batteries included Prometheus Helm chart with AlertManager, Grafana, node-exporter, and mixins ready to go. Note that you're probably going to need a bigger cluster if you go this route.
- Grafana Cloud - has a free tier. I personally haven't used it, but I believe it's as simple as installing their agent in your cluster.
- Telegraf / InfluxDB - Another good solution for visualization and metrics, but not as good for alerting.
- OpsGenie - pager software that works with Prometheus. Has a free tier.
- Set requests / limits based on what you see in your observability solution.
- Setup ArgoCD to deploy your Helm charts and other assets.
- Setup Vault to manage your secrets.
Verdict
It definitely works. I'm tempted to move all my stuff into one large LKE cluster. If running nothing but Ghost, you could follow their guide for deploying to Linode.