240p CRT Gaming With a Raspberry Pi
In my previous article, I discussed using a Raspberry Pi with a CRT television. You may have already found a use for this, even if just using it as a monitor for something that usually runs headless. A very common use case for this is retro game emulation with intent to be as close to the real thing as possible. Note that I'm going to expect some very basic experience with Linux here.
This is so common, in fact, Github user Sakitoshi has taken most of the guess work out of this already. Click the link to go to the project, we'll be using it shortly.
First, note my prior recommendation about using a Raspberry Pi 3 for this task. You're going to get all kinds of GPU errors trying the explanation in this article on a Pi 4. A Pi 4 is definitely a better solution for playing on your HDTV, but the Pi3 at 240p or 480i is going to be more than powerful enough to run consoles up to 32-bit at full speed. CanaKit still provides starter kits for the 3B+.
Get your SD card flashed with the current RetroPie image. I'm not going to document this as there is plenty of documentation on it already, and chances are, you've already done it before.
Initial Configuration
Before plugging it into your Pi, mount the BOOT volume and add this to the tail of config.txt (as recommended by Sakitoshi):
sdtv_mode=0
sdtv_aspect=1
disable_overscan=1
audio_pwm_mode=2
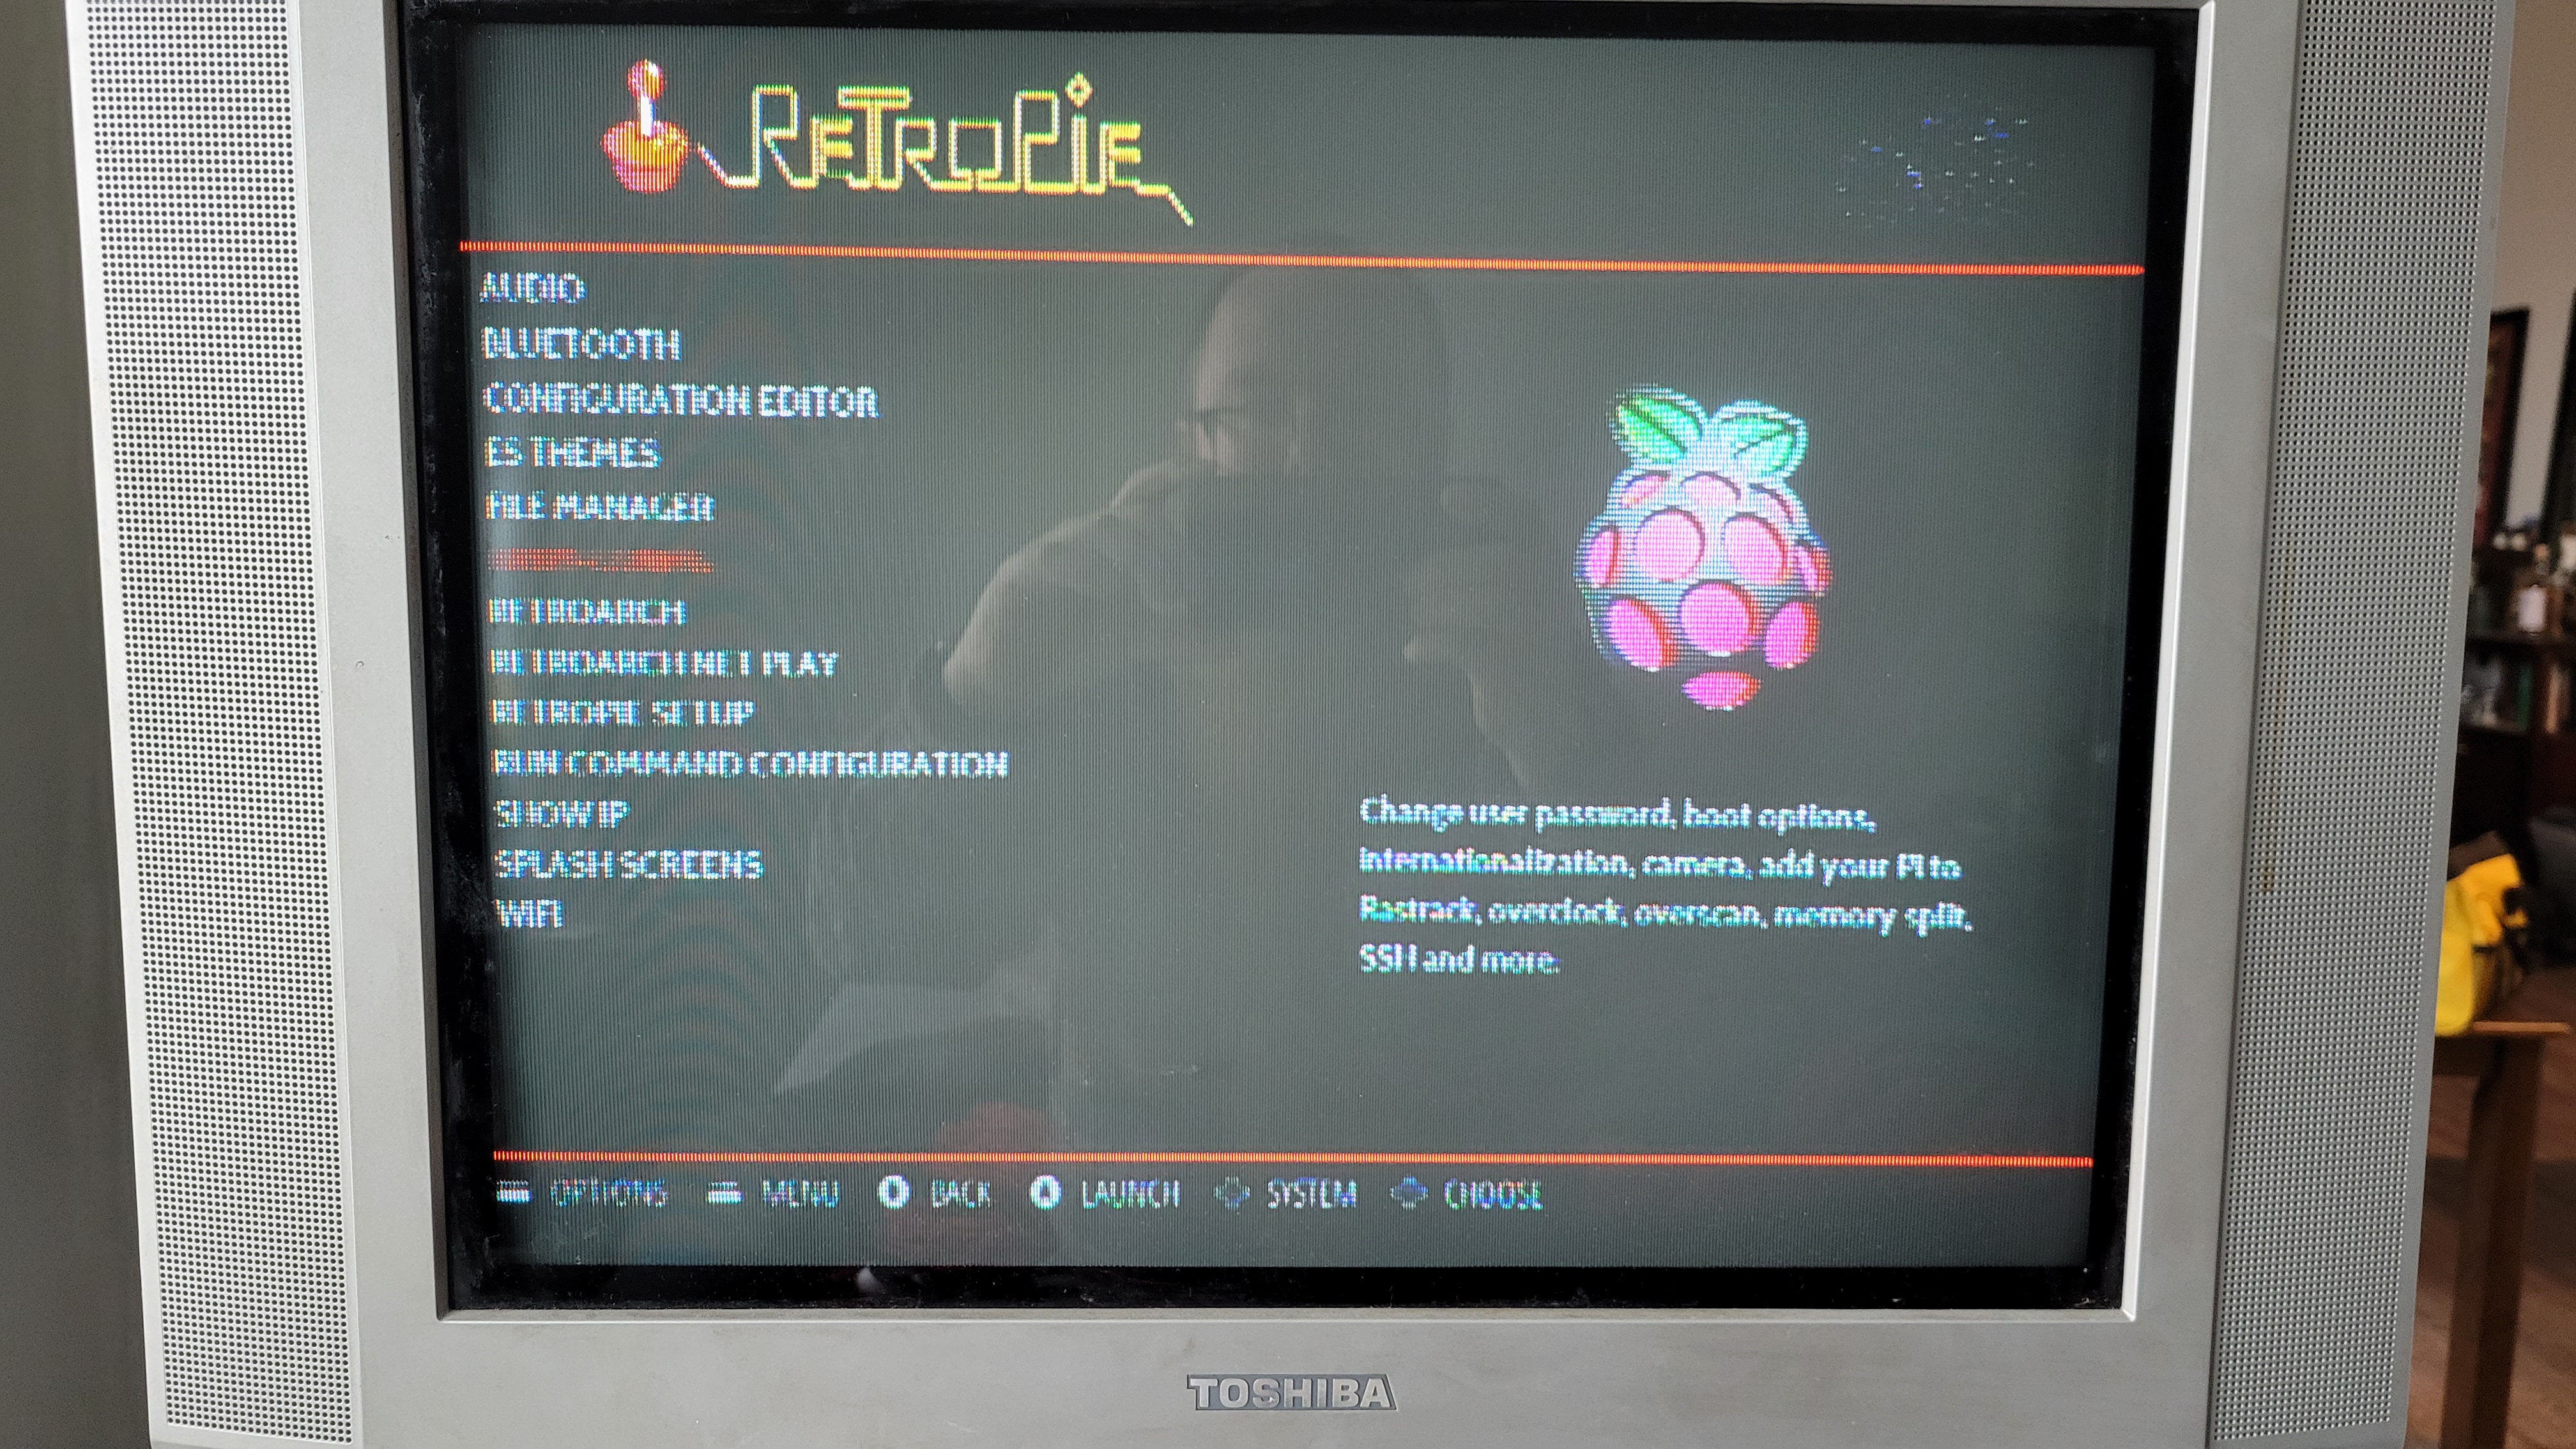
Put the card in your Pi and connect to your tv with a 3.5mm to RCA AV cable. I use this one. Connect a gamepad and keyboard as well. Go through the controller configuration, then go to the RetroPie configuration menu, select RASPI-CONFIG to get to the usual Raspberry Pi config menu.
We want to setup WiFi and then enable SSH so we don't have to keep configuring this thing with a gamepad. I find that insufferable. Skip the WiFi part if you connected ethernet.
System Options > Wireless Lan
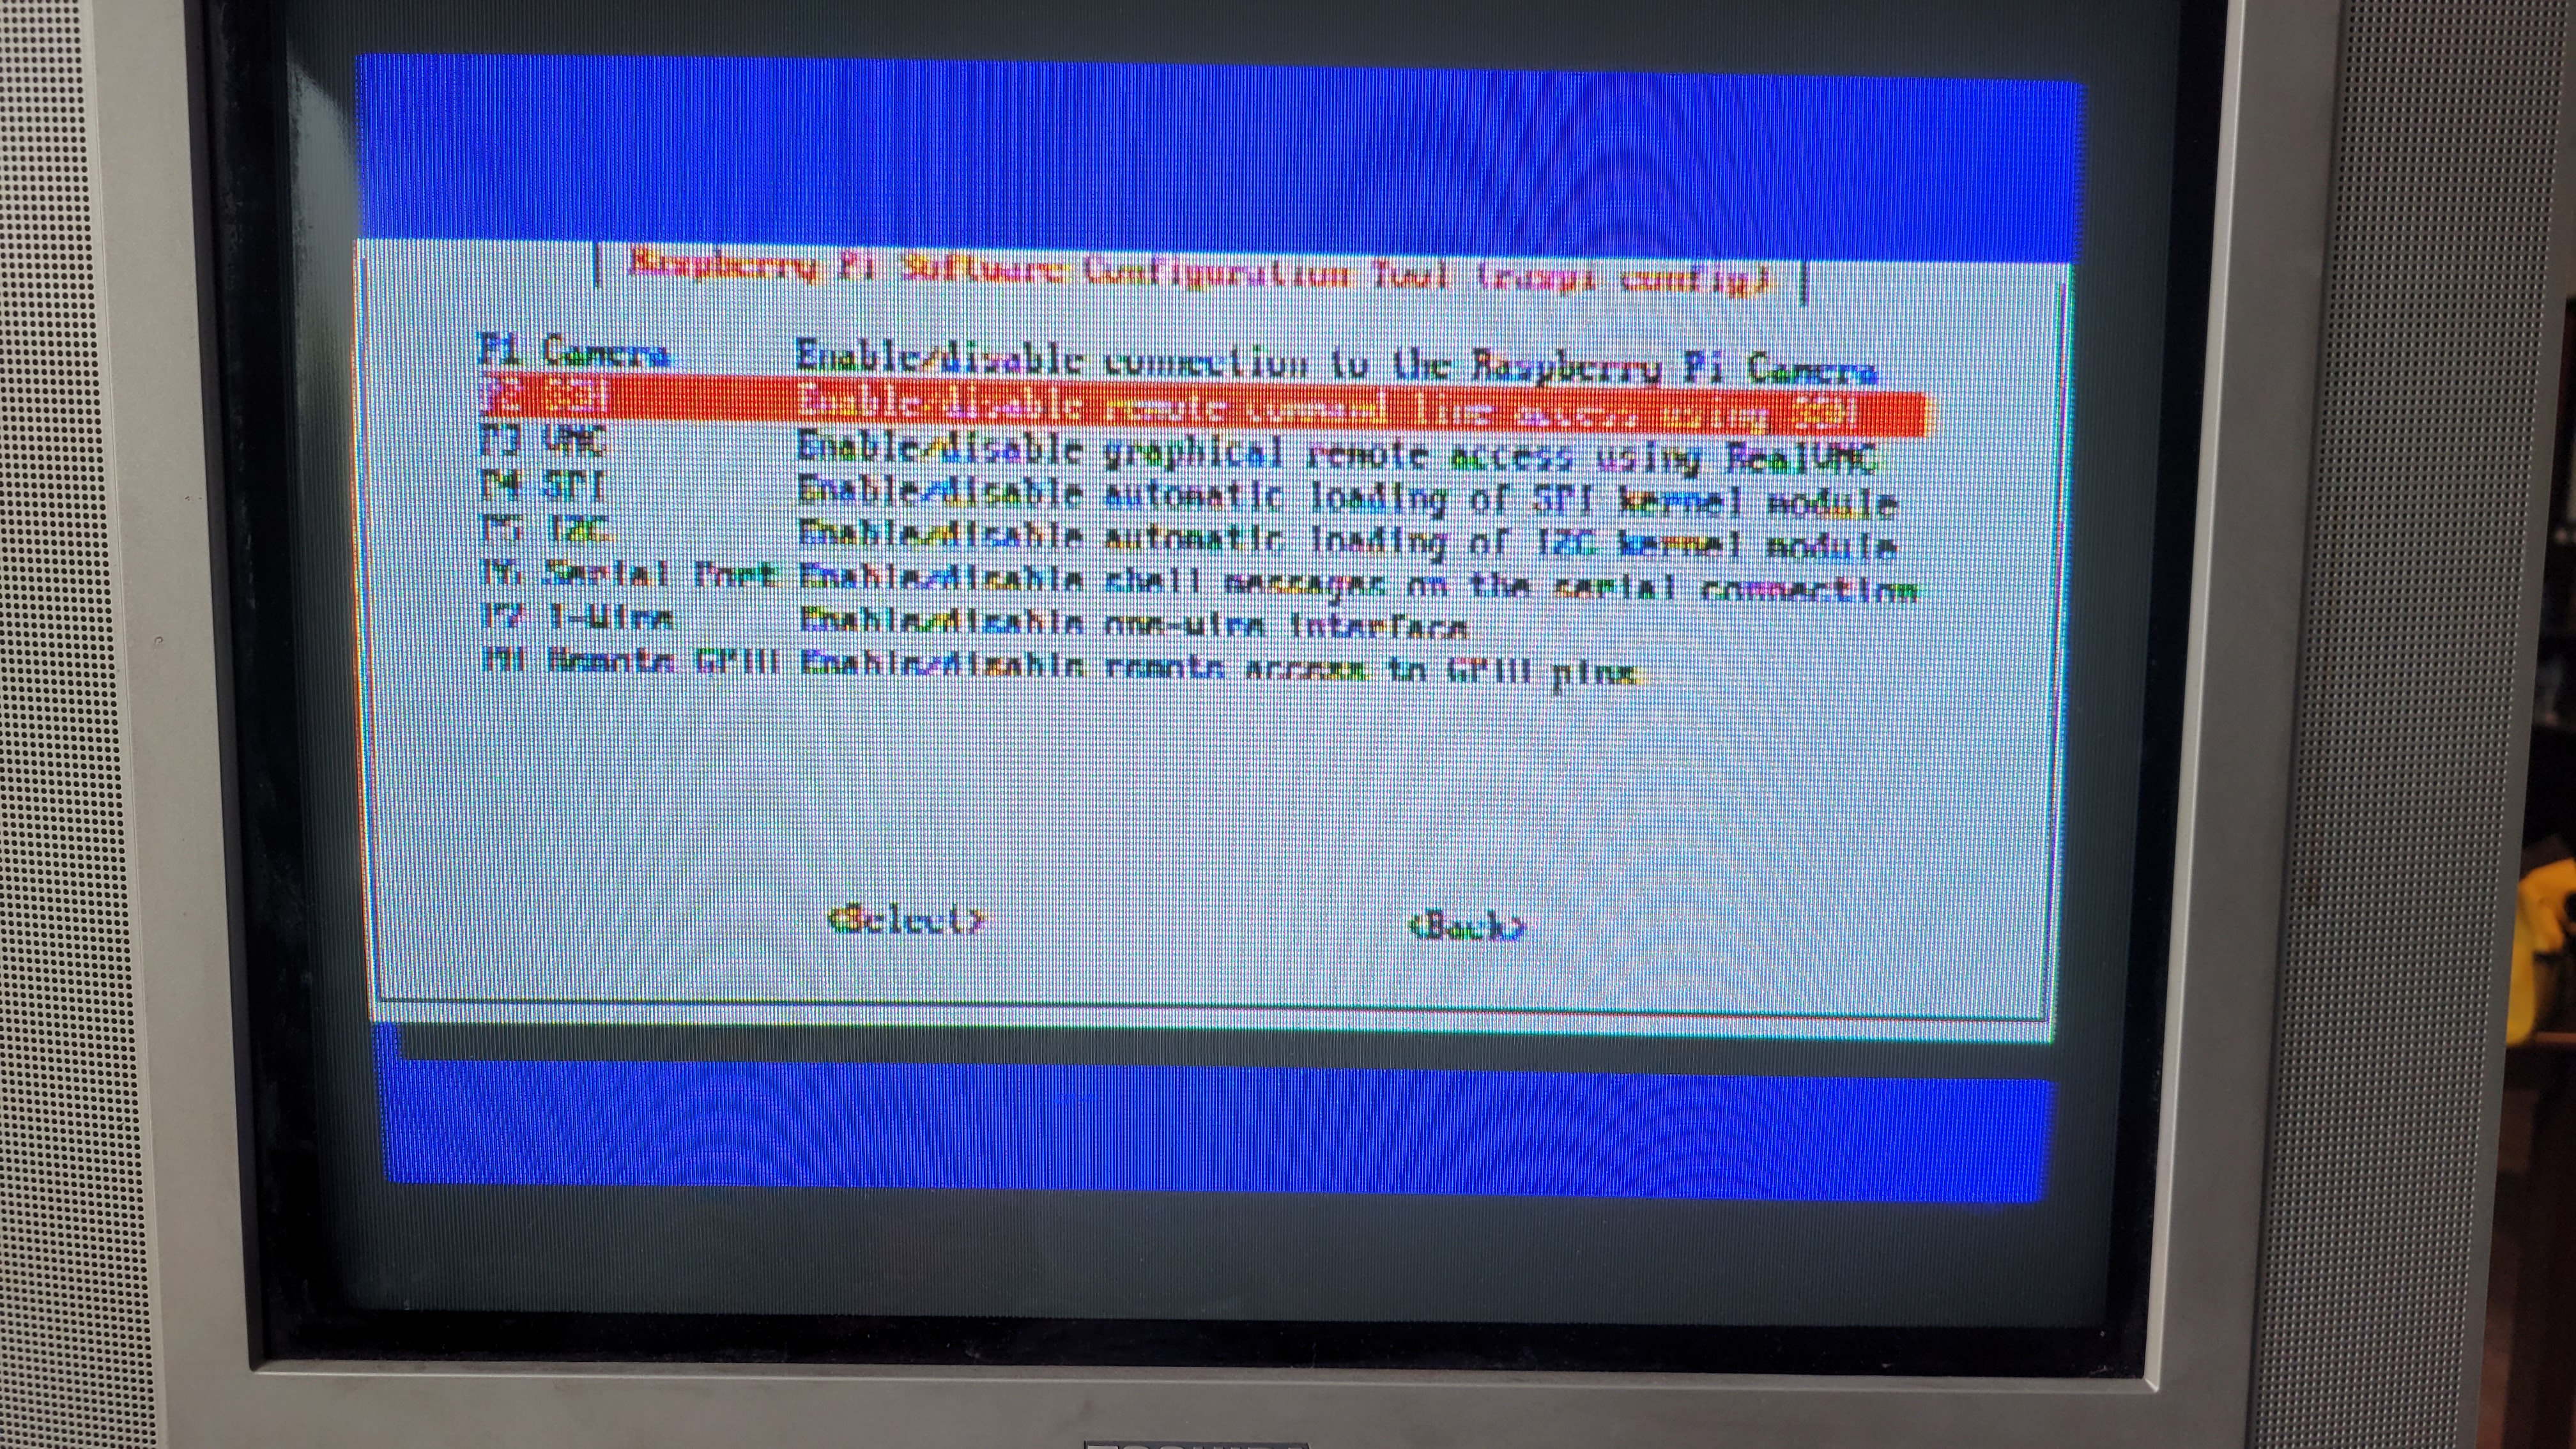
Interface Options > SSH
After configuring WiFi and SSH, you need to find your IP address. Go back to the RetroPie config screen and click SHOW IP.
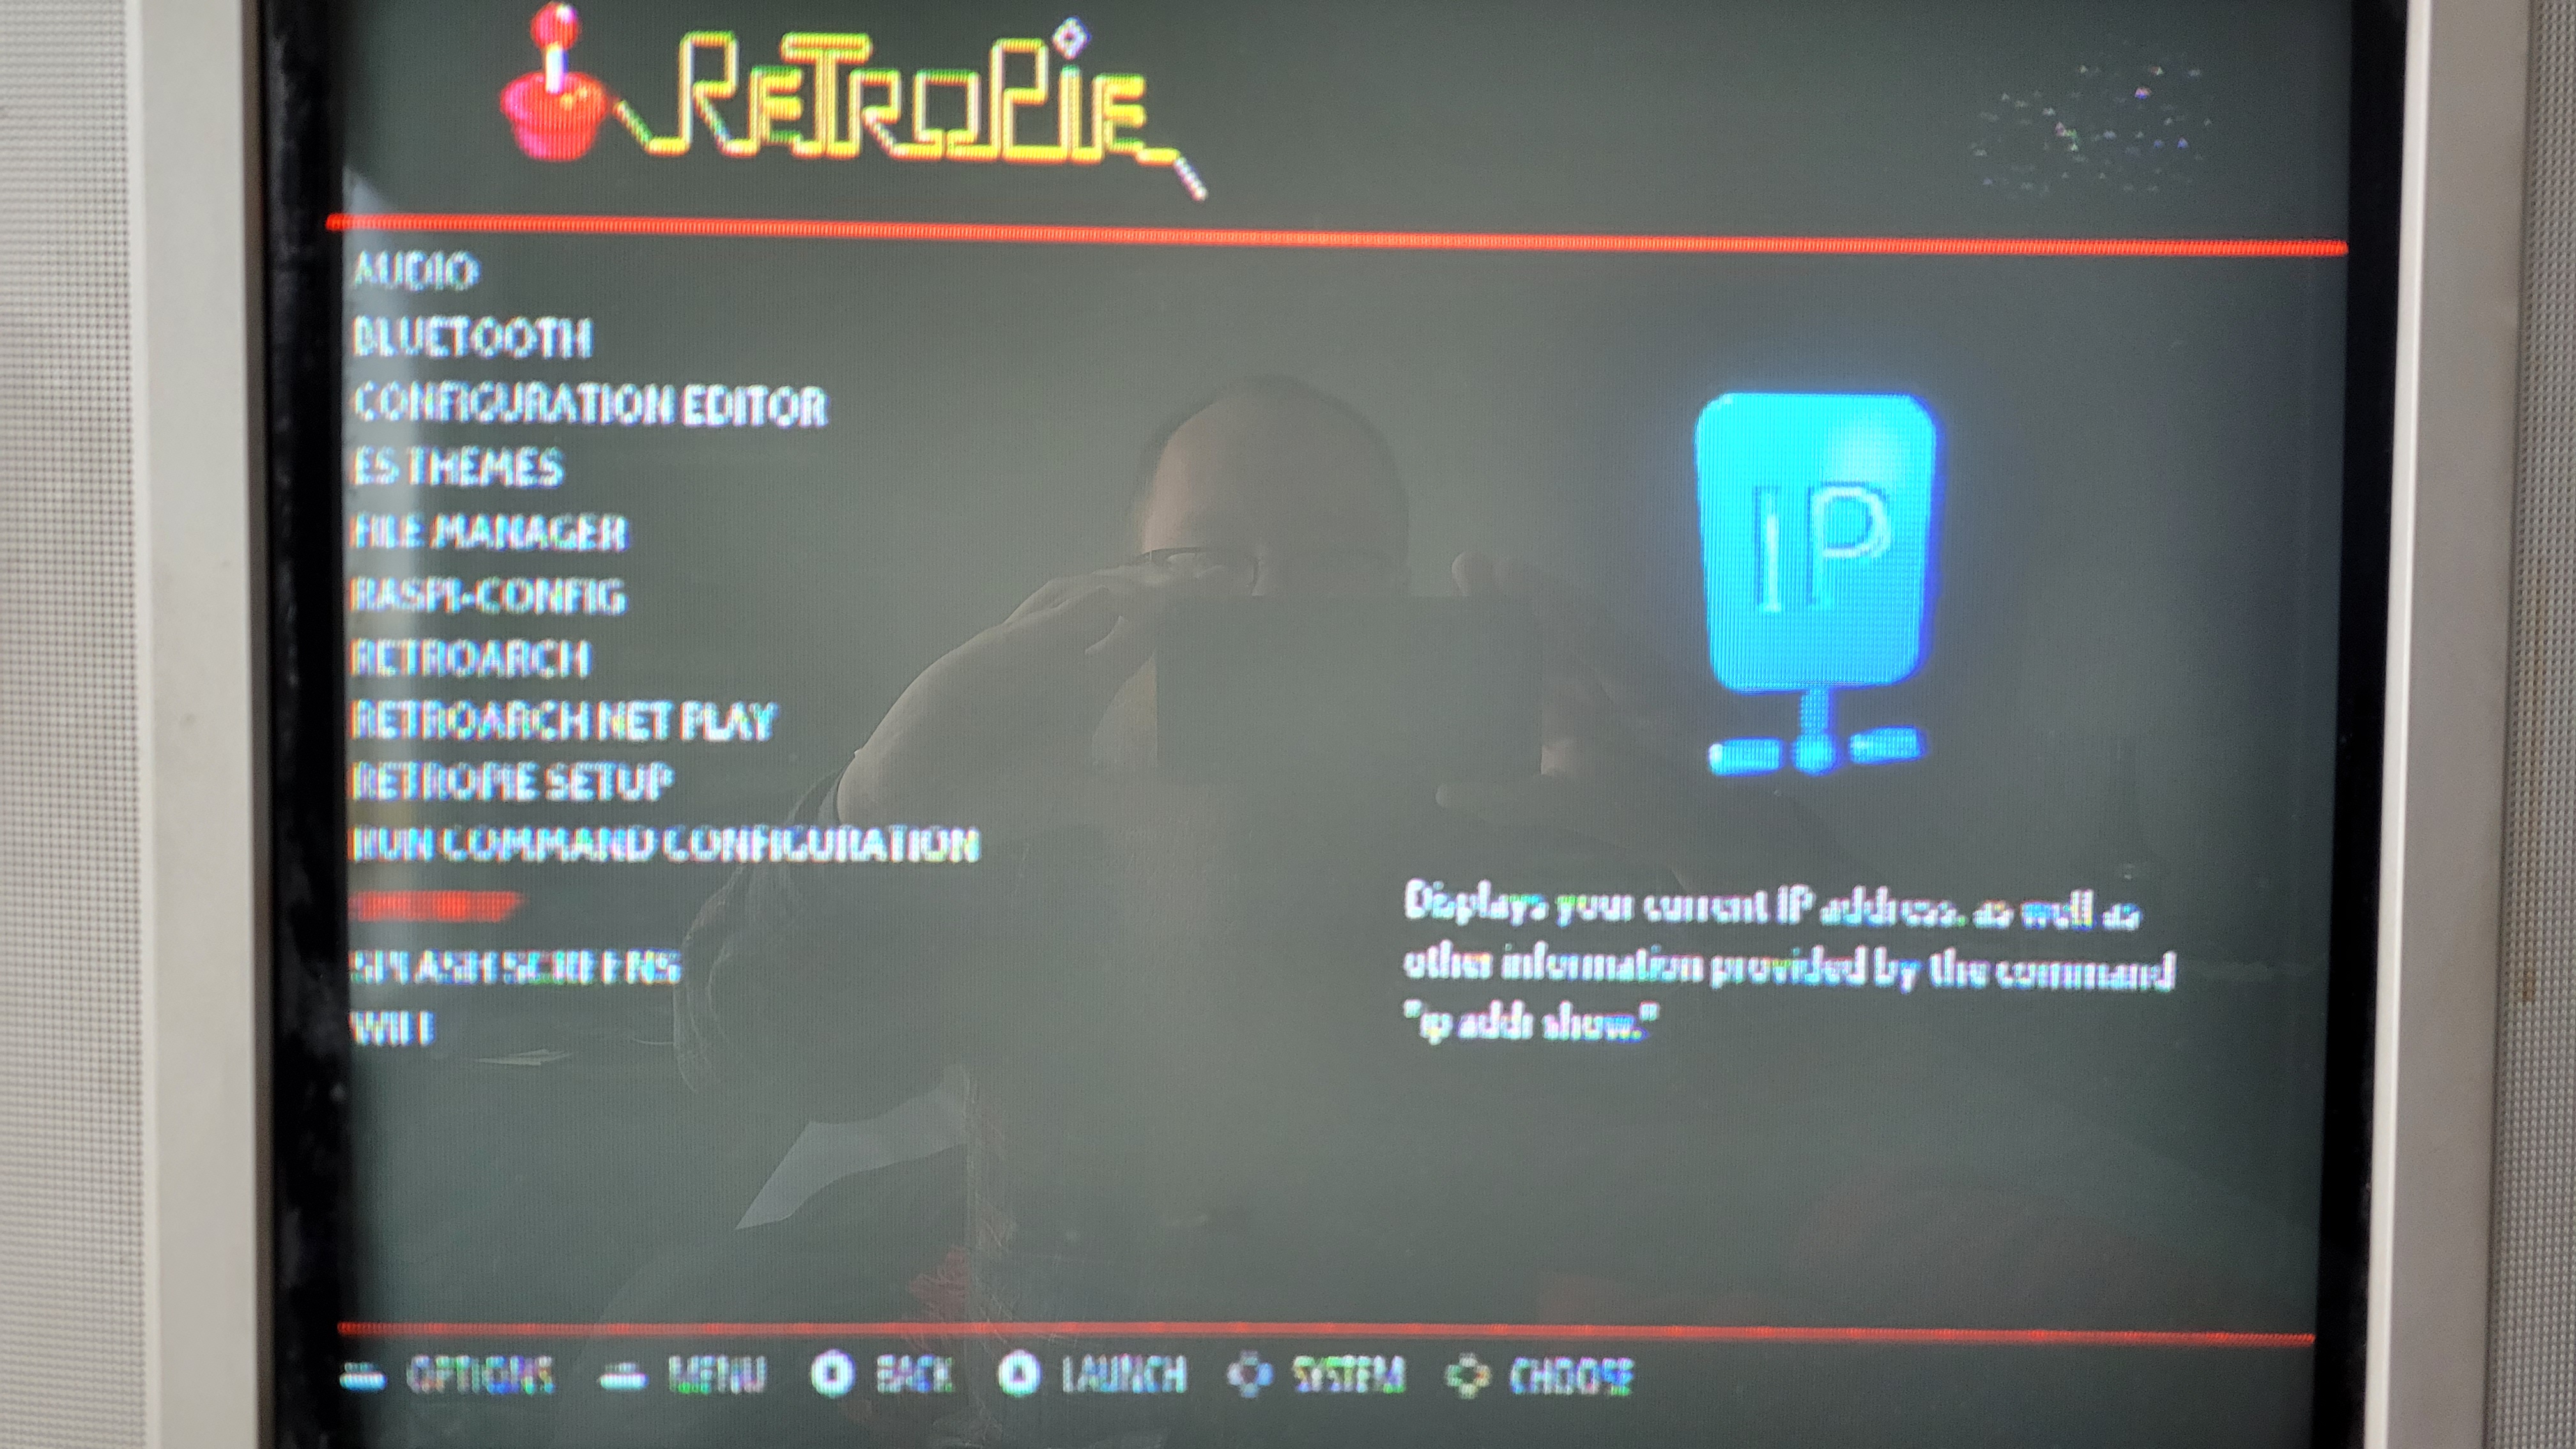
Once you have the IP address, go ahead and fire up a terminal window on Linux/Mac or a Powershell window on Windows. The default password is "raspberry", promptly change that.
ssh pi@192.168.whatever.your.ip.is
passwd
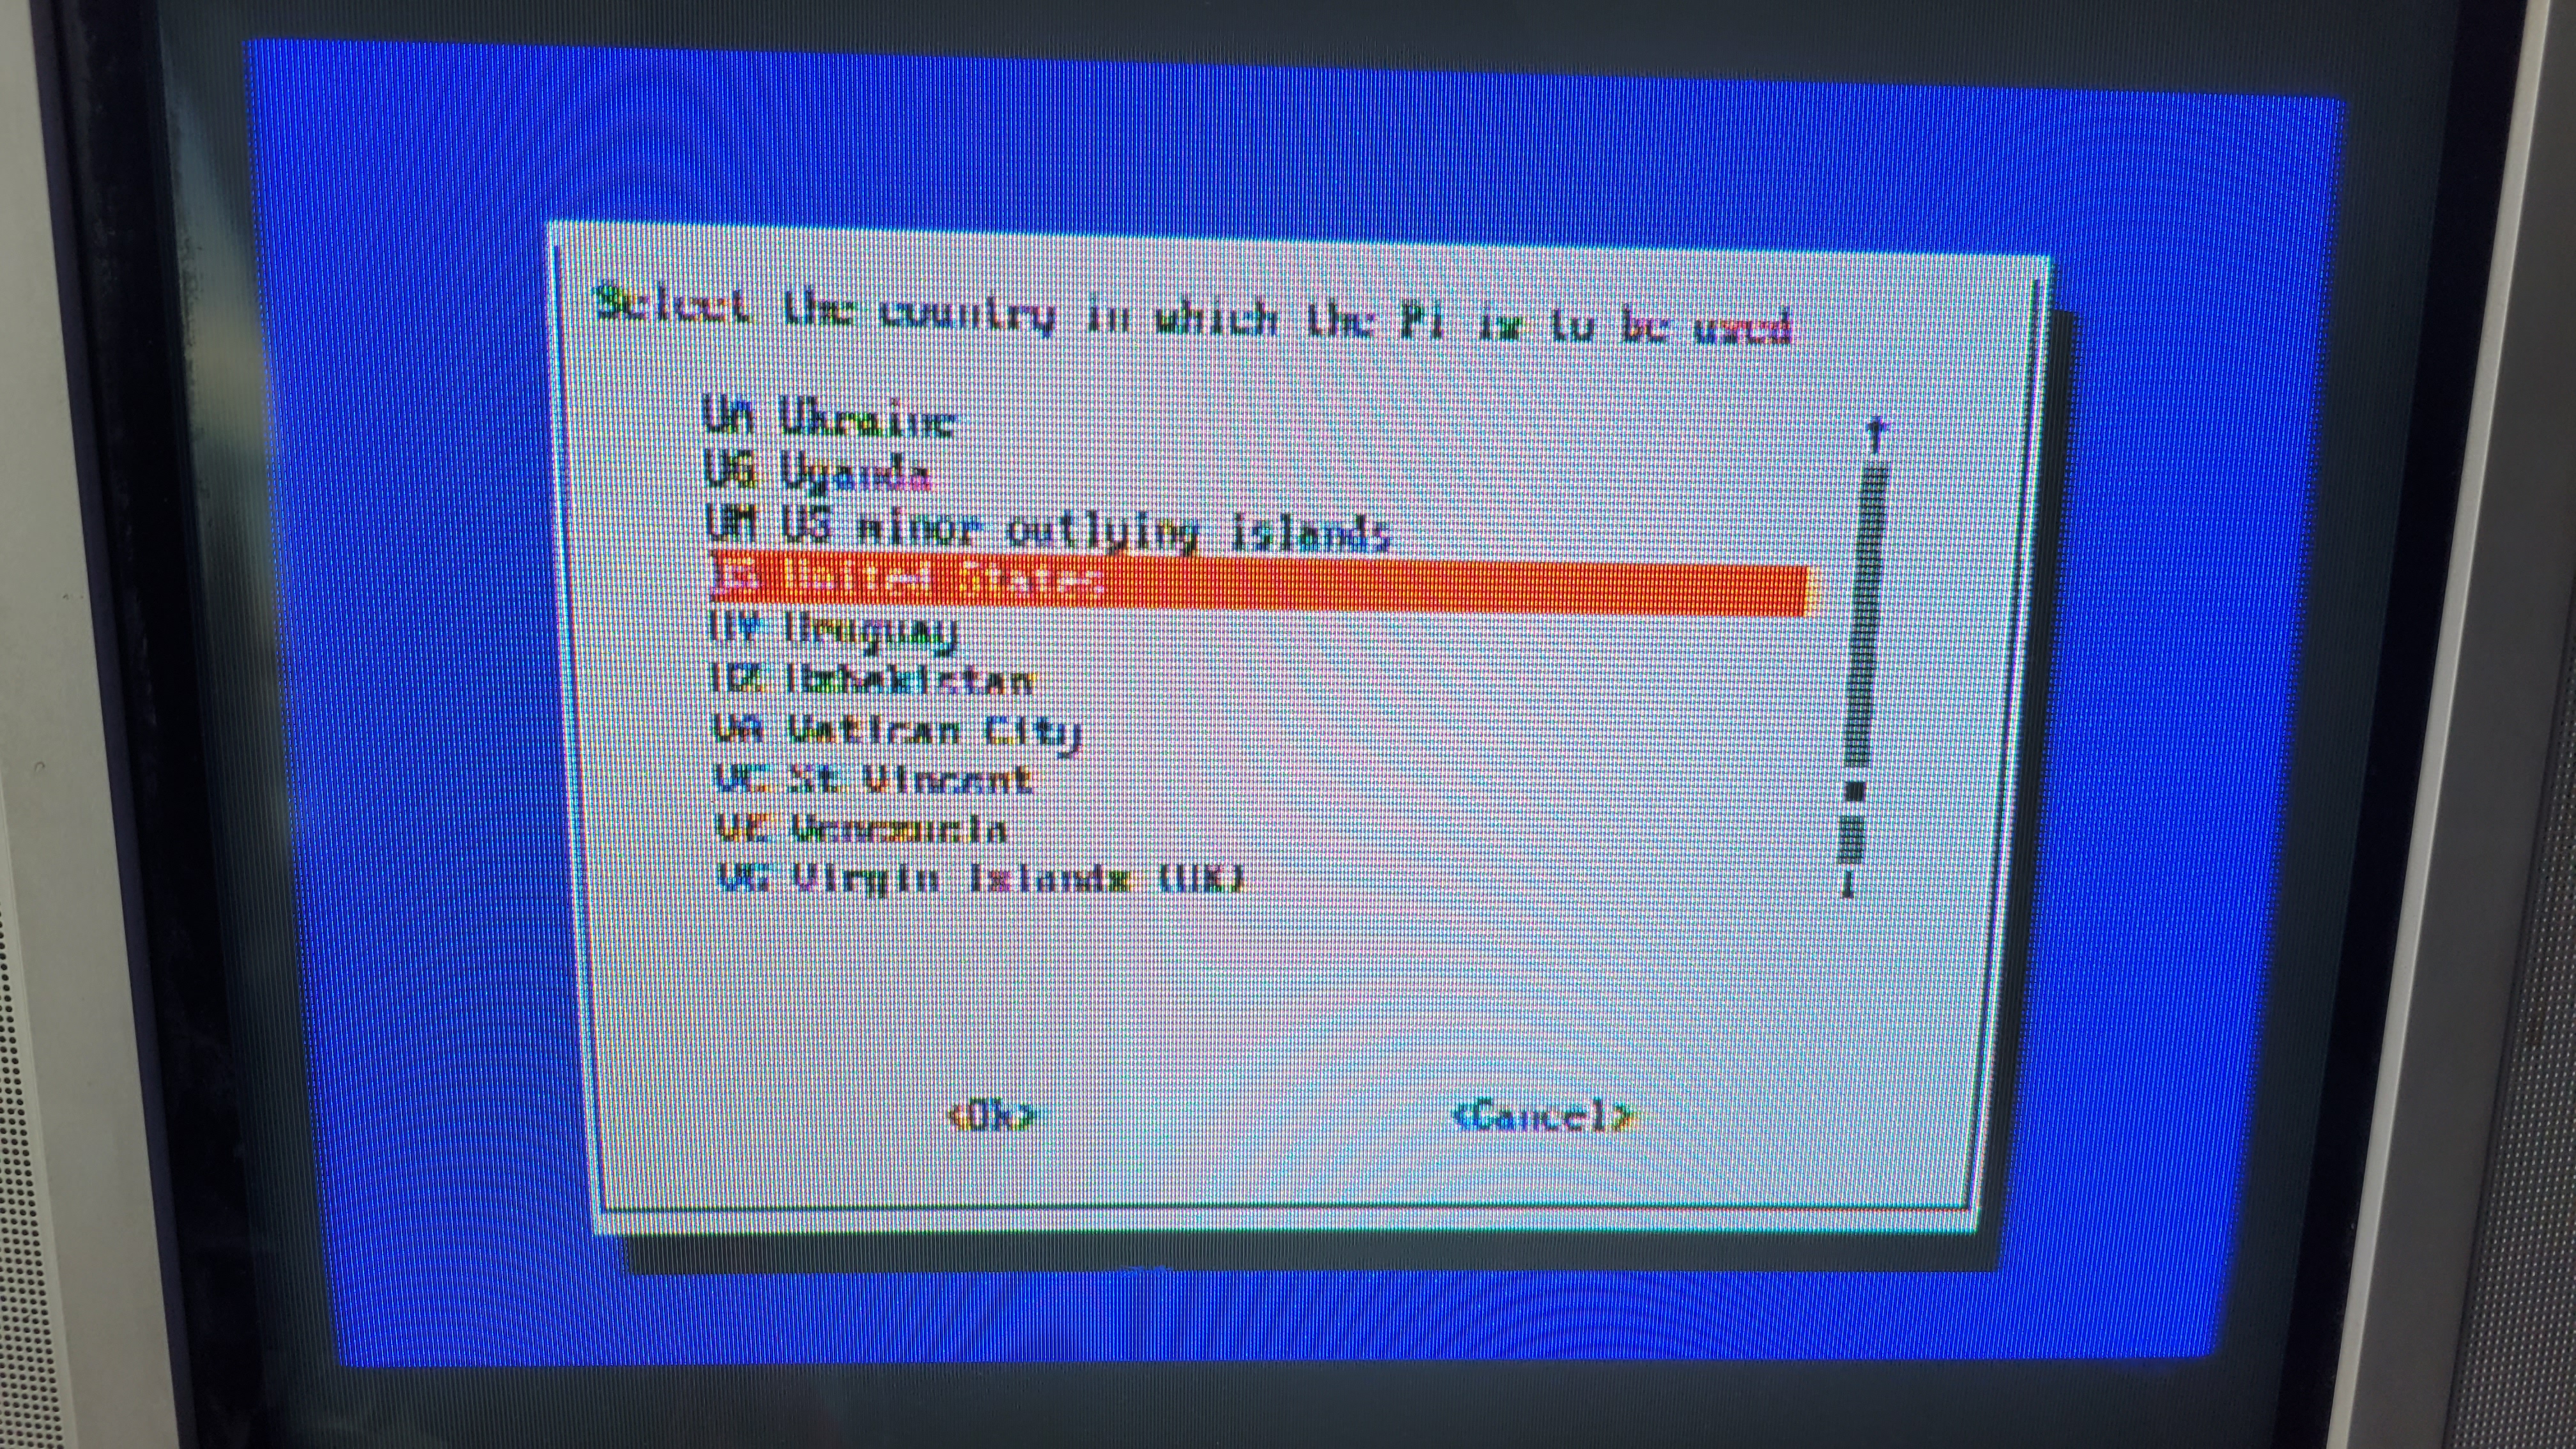
Run raspi-config over ssh this time, go to Localisation Options and update everything there (Sakitoshi's project assumes NTSC, so probably US).
sudo raspi-configRun Updates
Okay, so we're in and we've secured it. Before anything, let's run updates. As of RetroPie 4.7.1 (the current at the time of writing this), it is still on Buster, so after updating, don't be shocked at it rebranding as "oldstable". Do not try to upgrade to Bullseye yet; neither project we're working with here is ready for it.
sudo apt-get update
sudo apt-get dist-upgrade
sudo reboot
If you grew up in the 80s-90s in the United States, before we upgrade the RetroPie packages, create /opt/retropie/configs/all/platforms.cfg
megadrive_theme="genesis"
megadrive_platform="genesis"
pcengine_theme="tg16"
Okay, cool, let's update everything related to RetroPie since this image is over a year old. Note that after all these updates, if you're using an XBOX or compatible controller (like an 8bitdo), you'll need to remap it afterward because the button layout changes with new drivers.
sudo RetroPie-Setup/retropie_setup.shSimply go to Update and you'll have the latest packages. When it asks if you'd like to update the underlying system packages, say no because we just did that. Reboot again when it finishes as it downloaded some new kernel drivers.
Configuring 240p
After rebooting, we'll need to pull Sakitoshi's project. Go ahead and do this from pi's home folder:
git clone https://github.com/Sakitoshi/retropie-crt-tvout.gitNow let's rsync the config files to the appropriate folders.
rsync -av retropie-crt-tvout/to_bios/ RetroPie/BIOS/
rsync -av retropie-crt-tvout/to_configs/ /opt/retropie/configs/
What did we just do?
As I mentioned earlier, Sakitoshi took out a lot of the guess work. Not only did they configure all the emulators to run at 240p instead of 480i, they went through the tedium of setting up the overscan and offsets for the different consoles.
Playing a Game
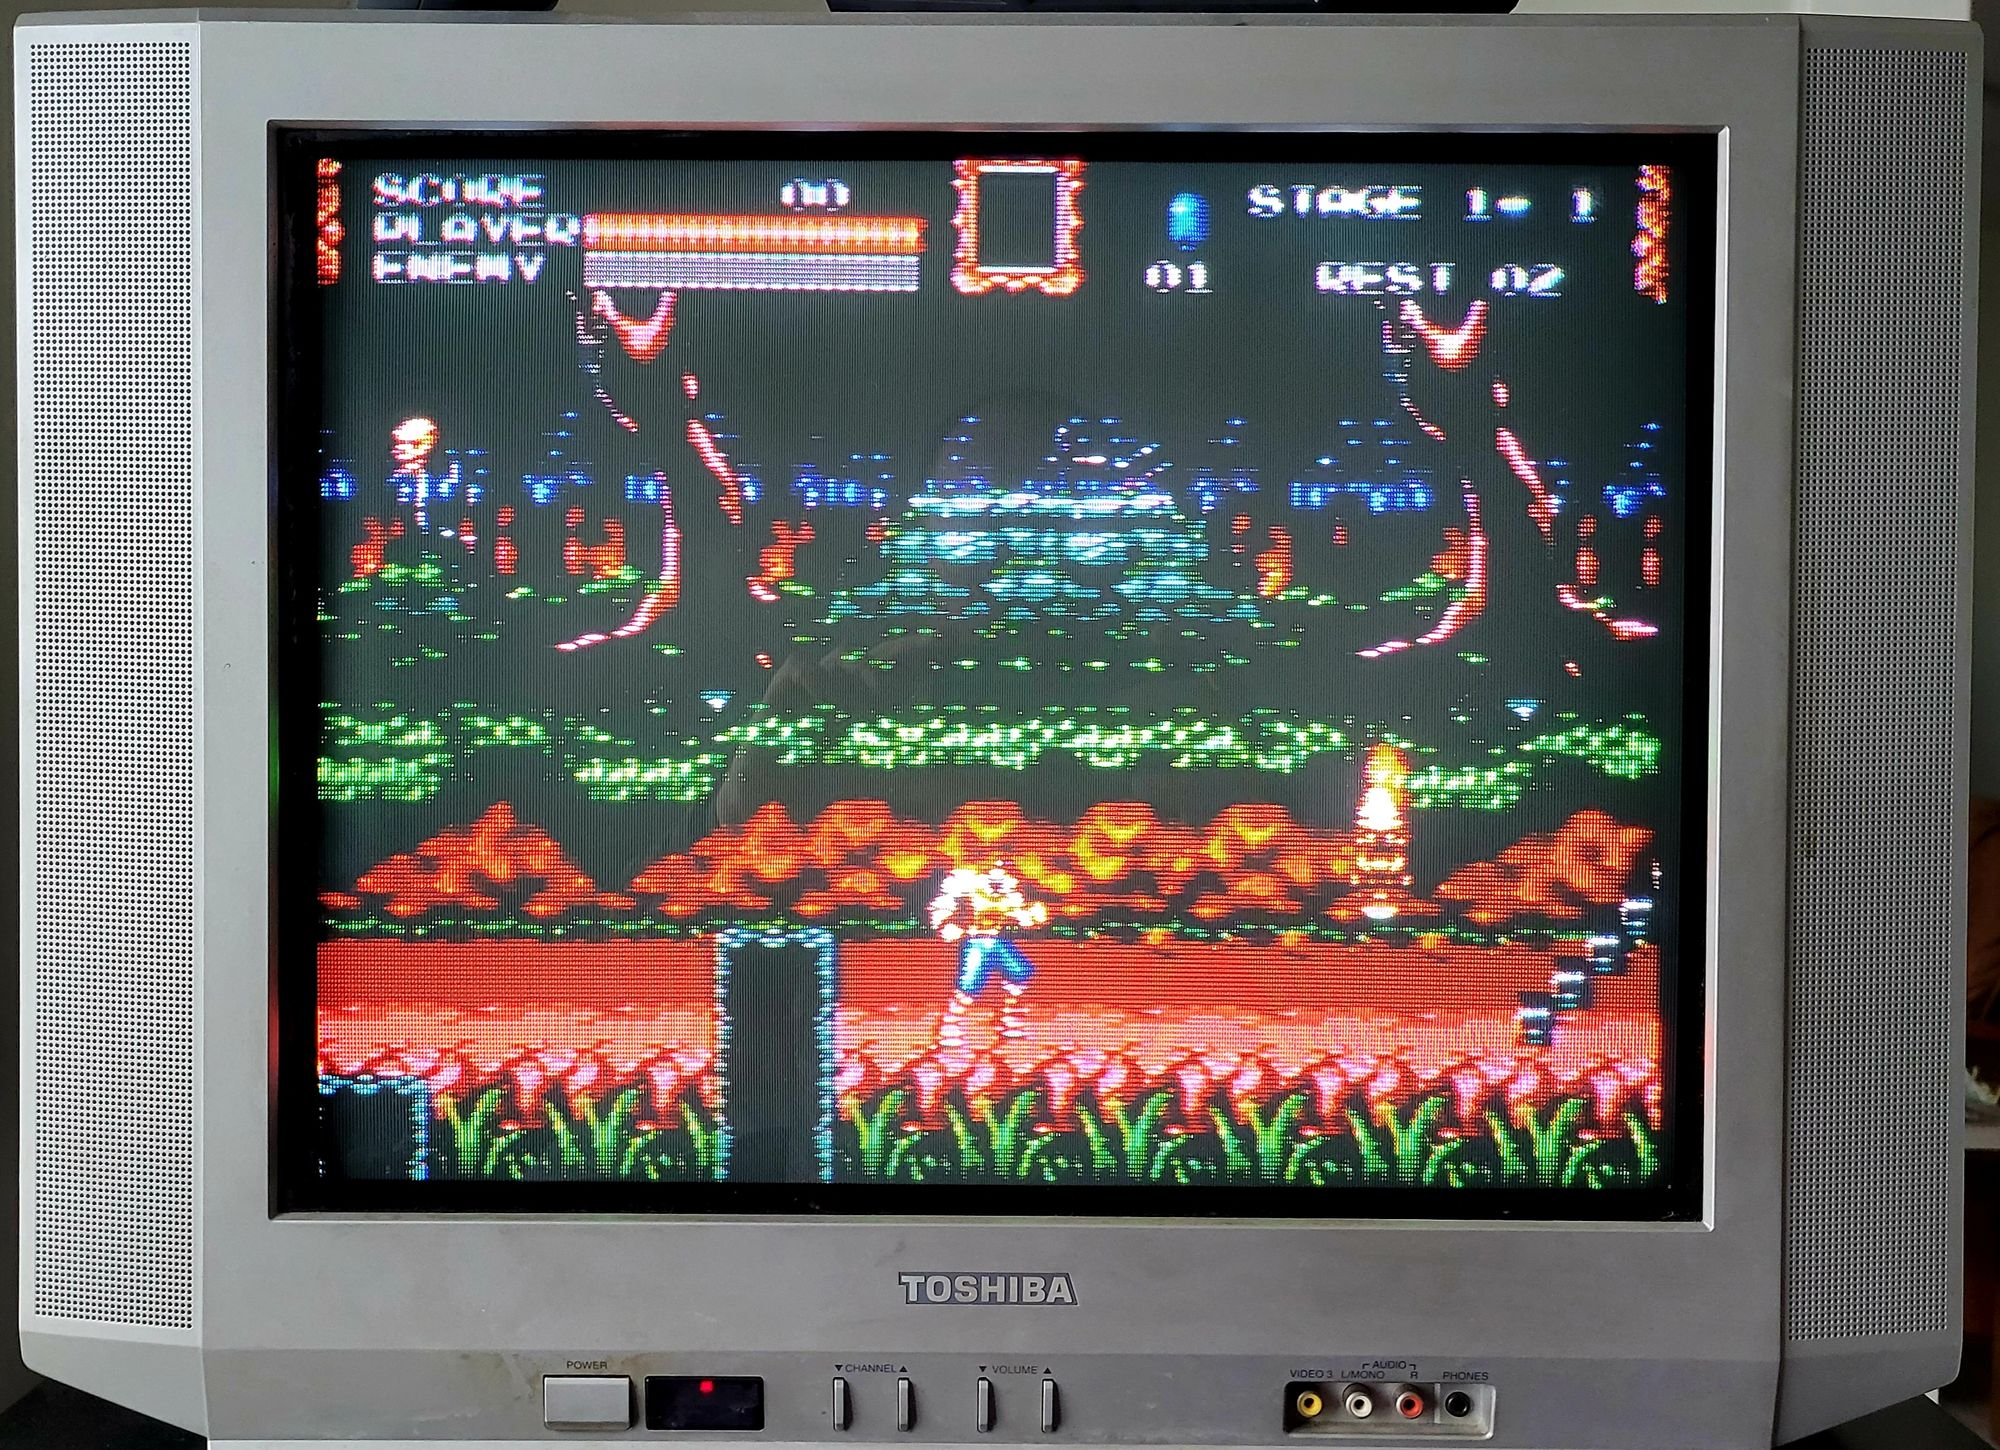
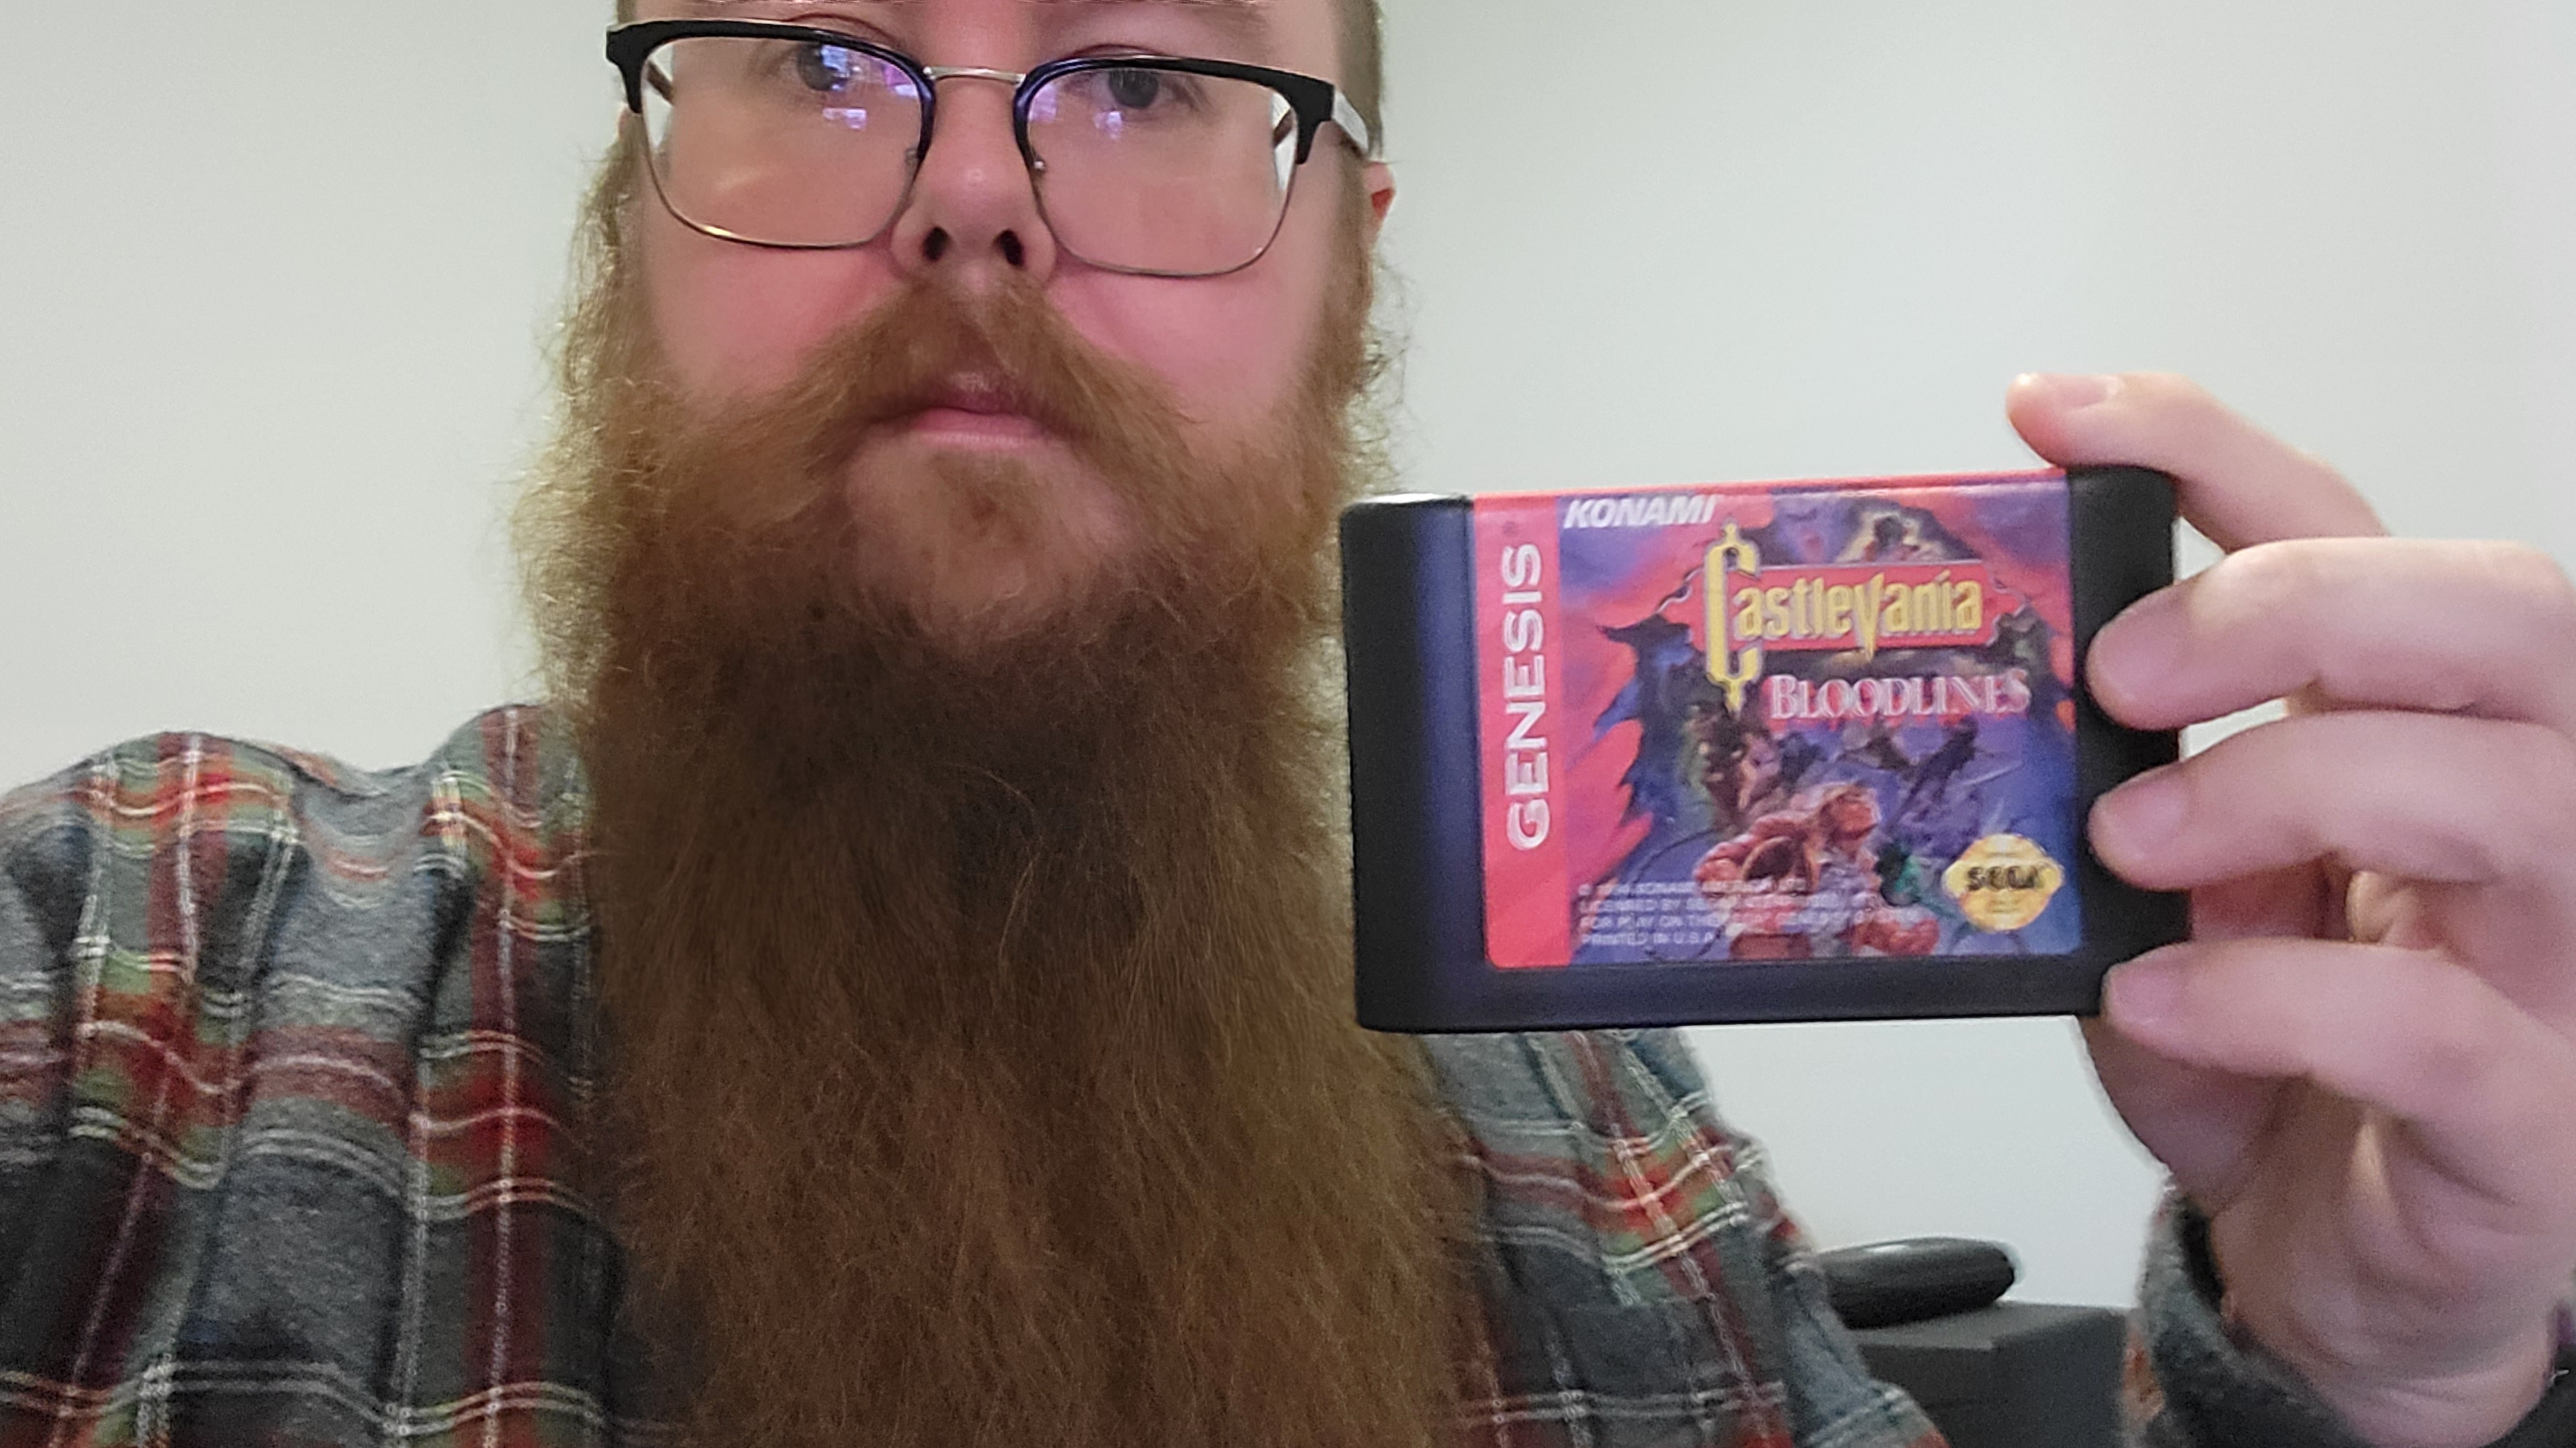
Now the moment we've all been waiting for. To show that I do not condone piracy, here is me with a real copy of Castlevania Bloodlines.
You need to copy a game rom from your PC to your Pi to get started. There are various console-named folders in RetroPie/roms/. I think Powershell does scp now, but I'm not sure. Try it. This works on Mac/Linux. Change into the folder your roms are in and use scp.
scp Castlevania\ -\ Bloodlines\ \(USA\).zip pi@your.ip.address:/home/pi/RetroPie/roms/megadrive/We just changed a ton of config and copied a rom in while EmulationStation was running. Go ahead and reboot for the easiest way to reload all that.
What's this? Despite my camera catching glare, in person, it looks great!

Conclusion
We've taken a fresh Raspberry Pi, connected it to an old TV, and got the Sega Genesis experience as close as we can without digging the real thing out.
Where to go from here? The official RetroPie documentation.