Beginners Guide to Using a Raspberry Pi with a CRT Television
If this headline catches you off guard, yes, newer Raspberry Pis have composite video out for NTSC or PAL just like the earliest model did, but it's hidden in the 3.5mm audio out jack. It's such a secret that the output is actually turned off on the Pi 4 by default. What I aim to teach you here is how to get started with Raspberry Pi OS on a CRT. A follow up article will cover use with RetroPie and the differences in 240p/480i settings, but for now, that is out of scope and we're going to focus on the beginning.
Why do this?
Well, most people do it for retro gaming. You can also use it for streaming video. It can be a helpful tool for keeping your old TV sets useful. Being able to replace several shelves of old game consoles and vintage computers by dumping your game collection onto a flash drive can make life easier, and you still get the vintage television experience.
What you need
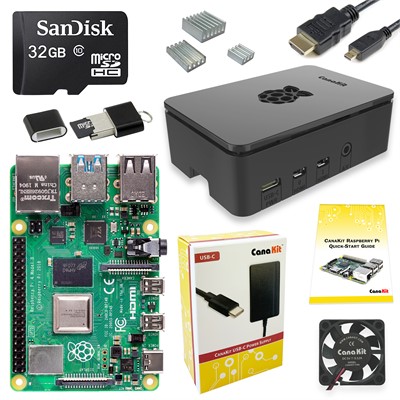
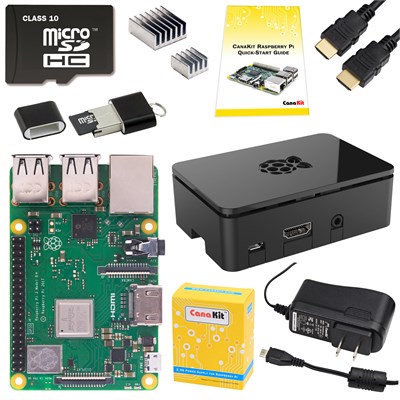
First, you're going to need a Pi and the necessary gear. First time? Try getting one from Canakit. A 2 or 4GB Pi 4 is probably a good bet. Only get an 8GB if you're an expert and only skimming this article for config settings.
If you're planning on setting up RetroPie, I can advise that currently the Pi 3B is more reliable for this task than the 4, and when using a the low resolution of a CRT will meet all the demands that the 4 does.
Next, you'll need a 3.5mm to A/V cable. I'm using this one without any issues:

Note that I am not partnered for advertising, this is actually what I bought for my own use.
Installing the OS
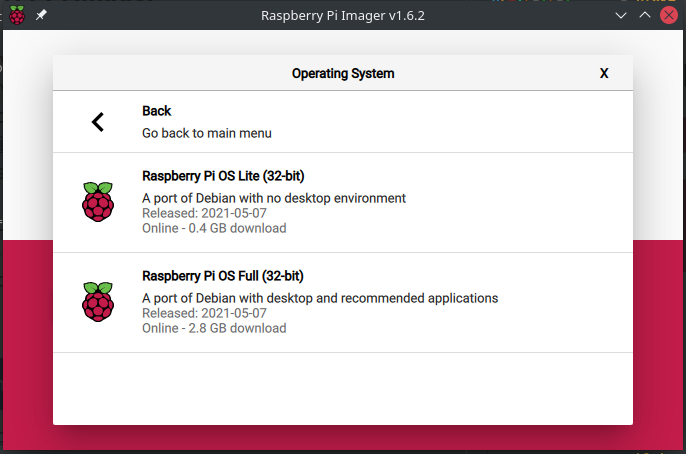
If you're running Linux and know what you're doing, get your image of choice here and dd it over to the memory card that came in your kit.
Otherwise, get the user friendly Raspberry Pi Imager from the official site. You'll want to decide whether or not you want a graphical desktop for this project. I'm using the "Lite" install.
Enabling SDTV output
After you image the memory card, you'll notice one of the two partitions on it is formatted with FAT and readable by pretty much anything. There is a config.txt in the root of this volume that we need to edit.
Scroll down until you see this section:
# uncomment for composite PAL
#sdtv_mode=2
If you're in America like me, you actually want NTSC. Replace this with the following:
sdtv_mode=0
sdtv_aspect=1
enable_tvout=1
sdtv_mode=0 tells it we want NTSC 480i. If you want to explicity force 240p, use sdtv_mode=16 instead. You probably don't want this as your emulators can be set to switch to 240p when they launch. sdtv_aspect=1 tells it we want a 4:3 aspect ratio. enable_tvout=1 is necessary on the Pi4, as it disables composite video out by default. This is because it can't play nice with 4k settings for HDMI.
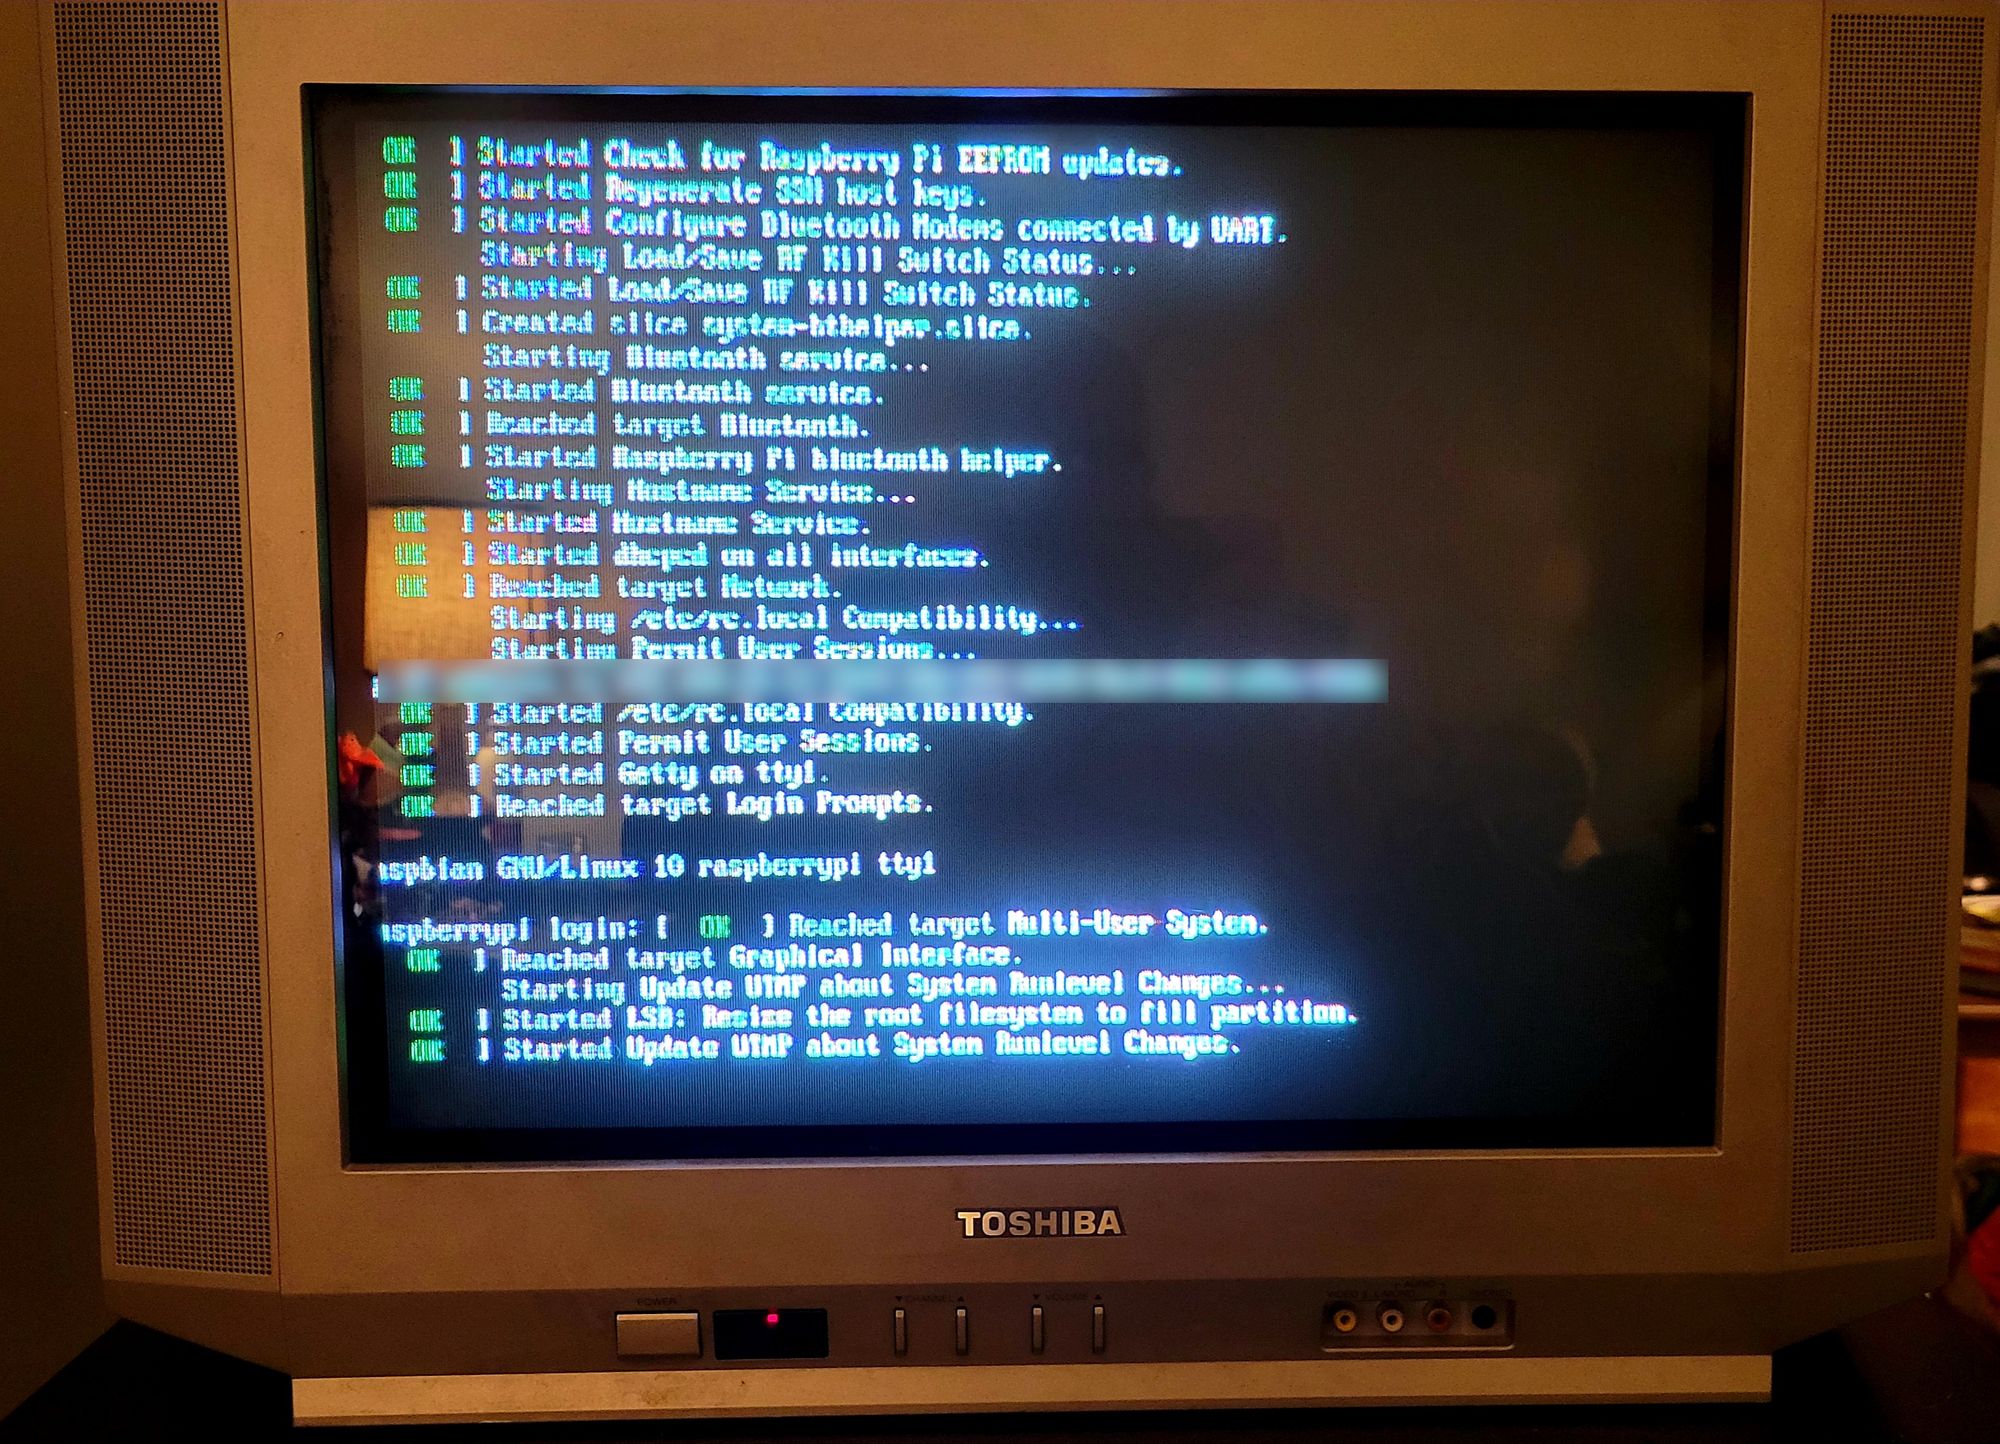
Plug it in!
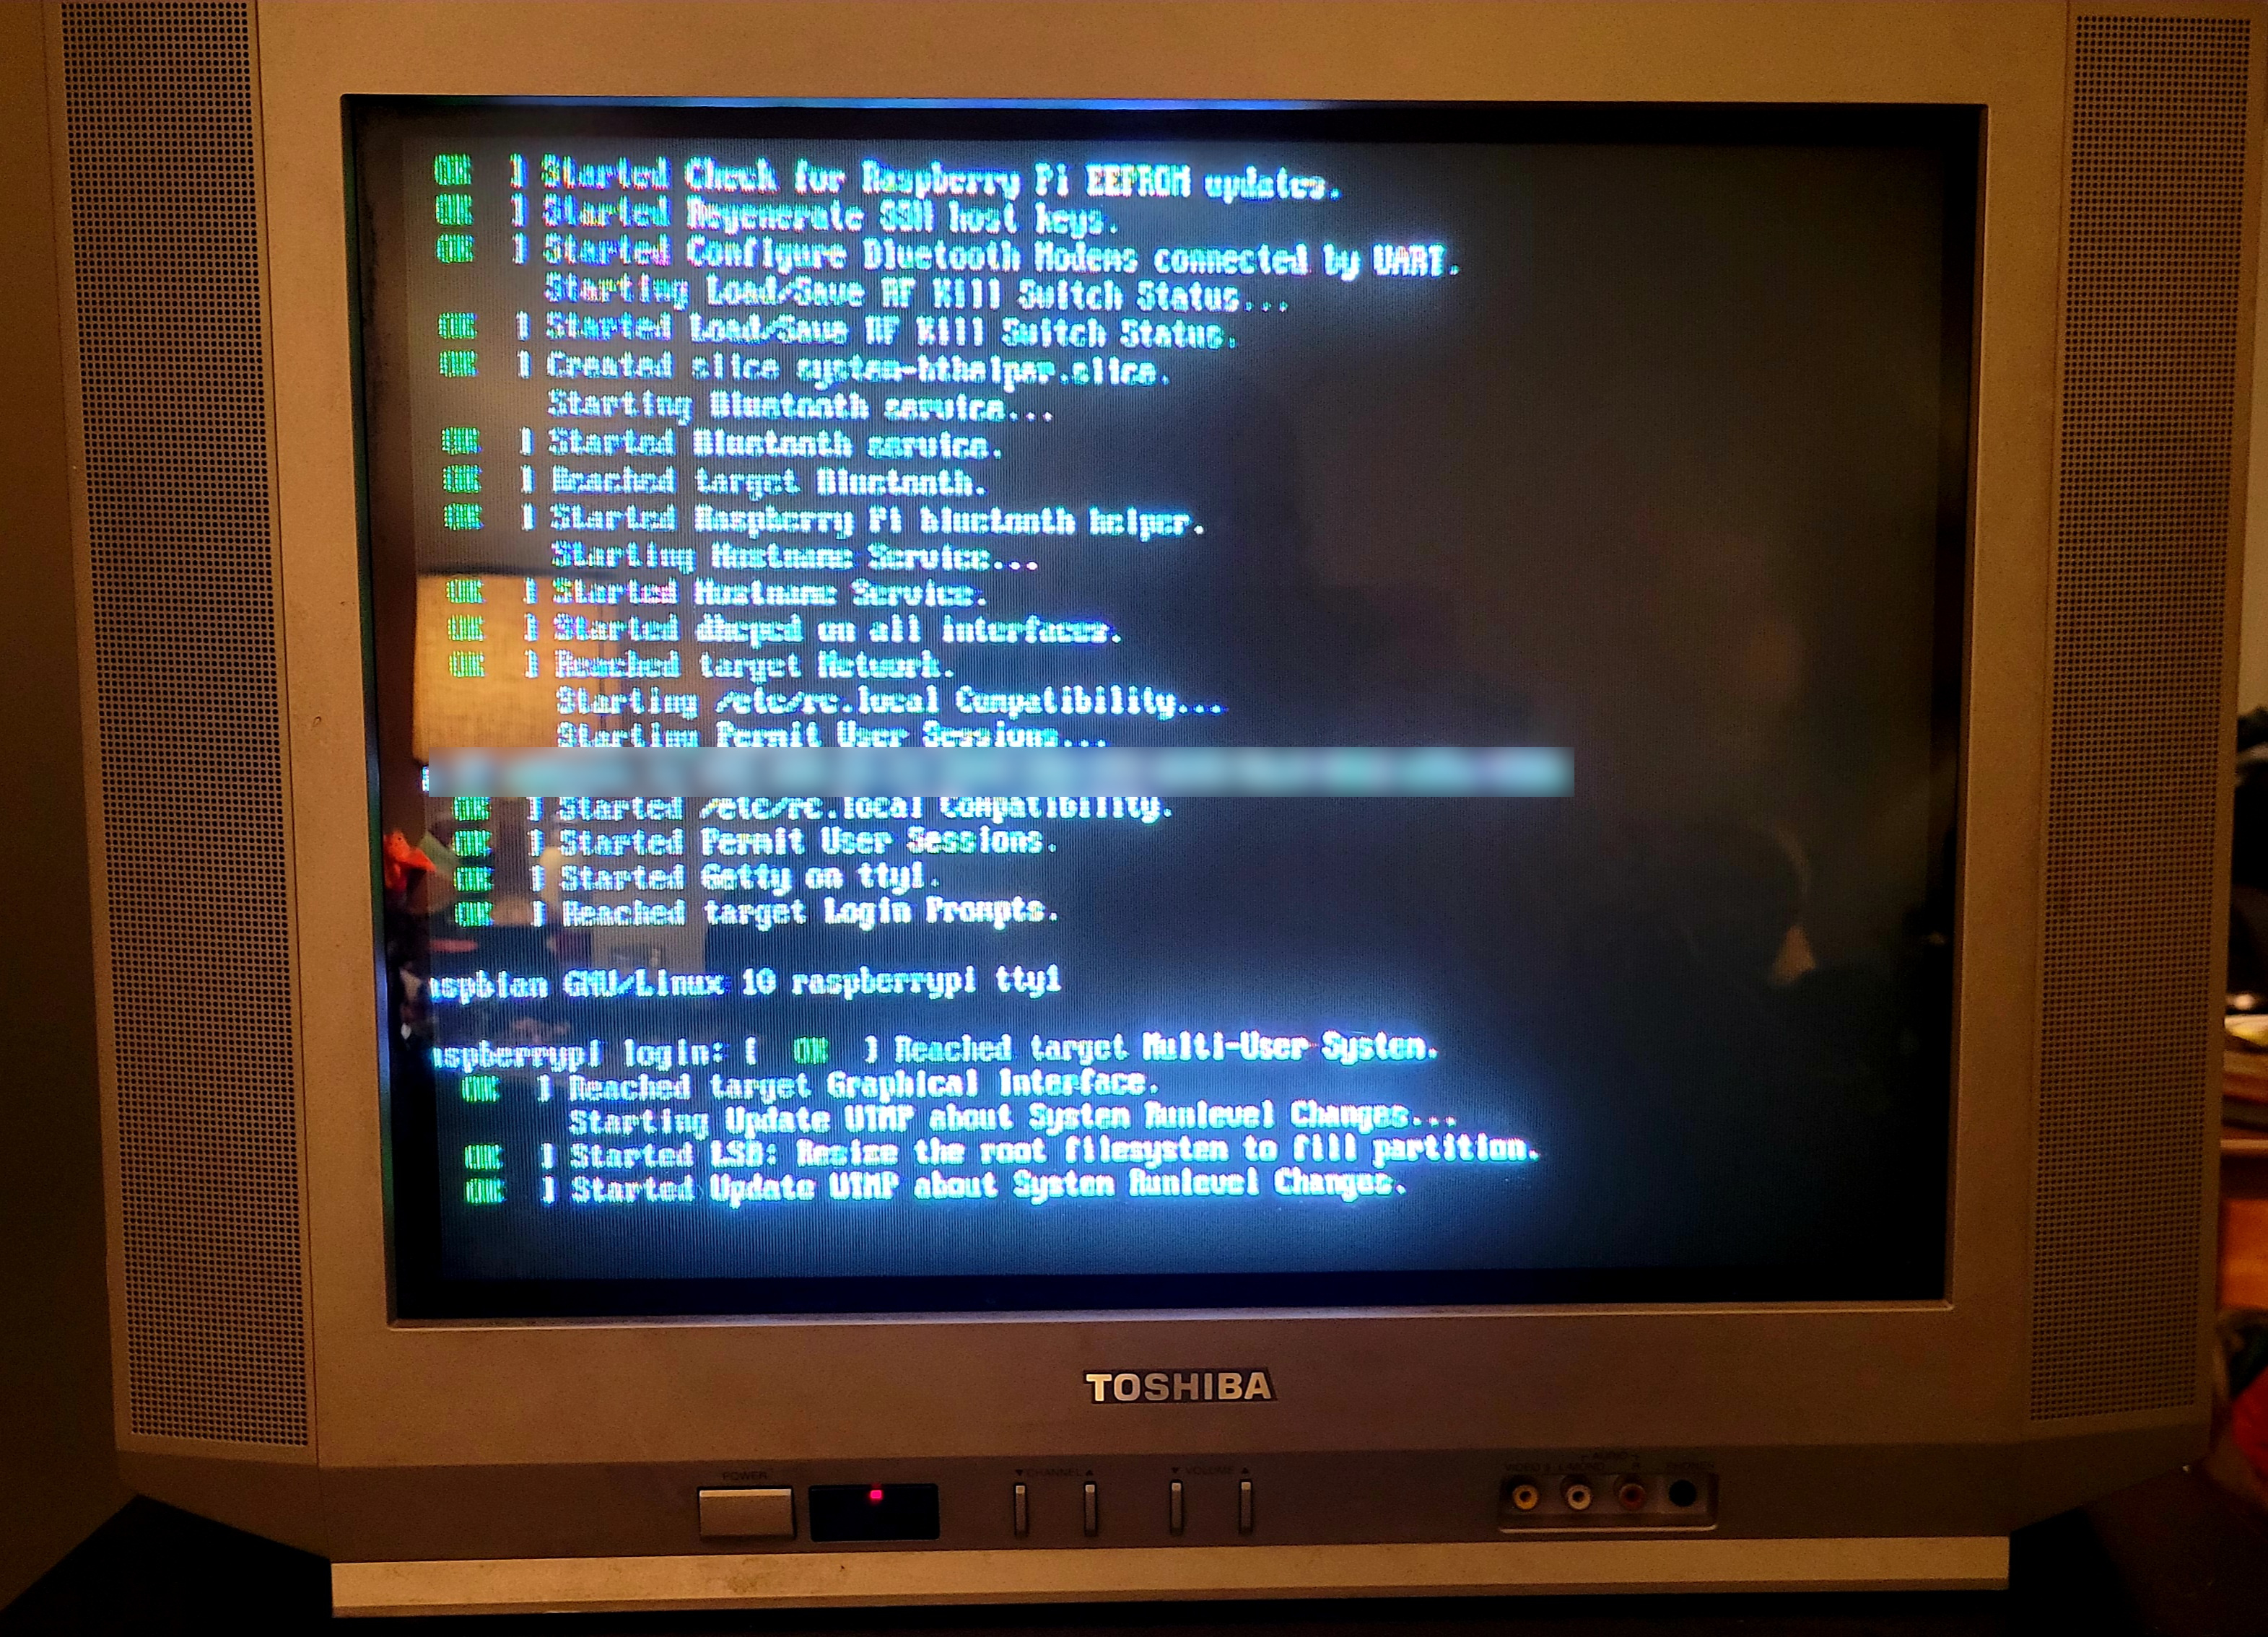
Assemble your Pi kit, grab your A/V cable and hook it up to that TV that's old enough to drink now. Well, I don't think this Toshiba 20AF41 is that old, but it has definitely seen some things in life.
In my next article, we'll do something useful with it.